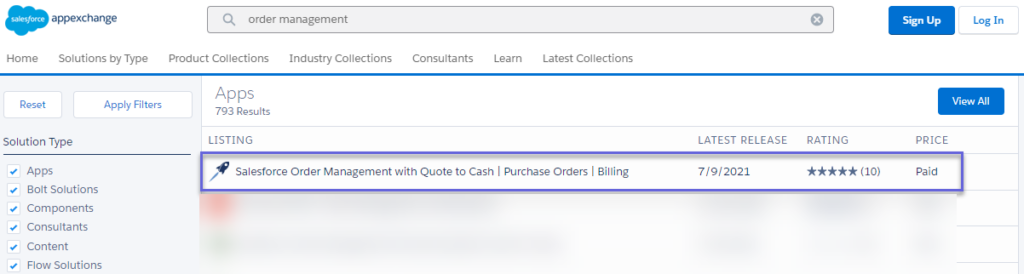
Salesforce AppExchange
Visit the Salesforce AppExchange to Install Juno Orders into your Salesforce Org.
Click the Green “Get It Now” button in the upper right corner of the screen.
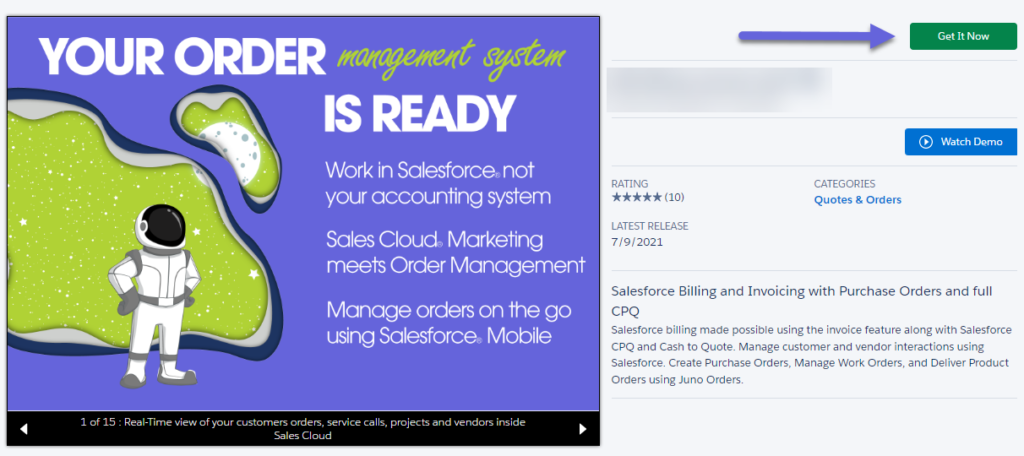
If you have never purchased any apps before, you may be prompted for some details. Otherwise, proceed as usual.
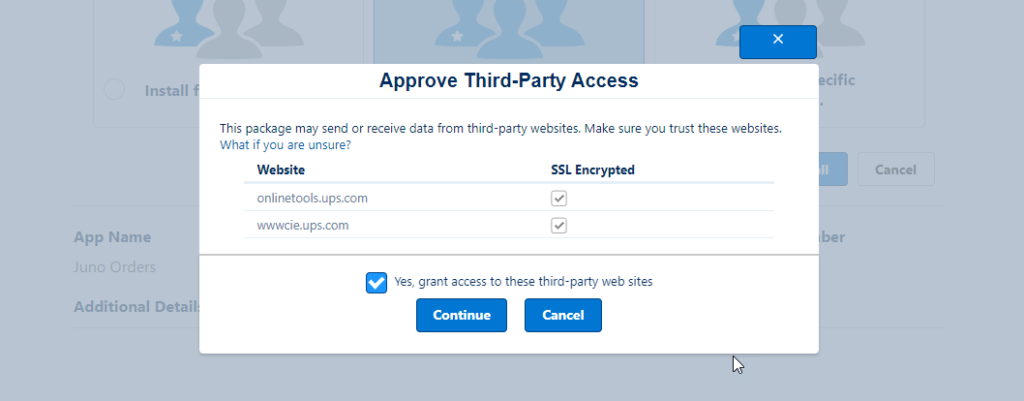
You will be prompted to “Approve Third Party Access” for available links to UPS and or Stripe. This is simply letting you know that available integrations are part of this package.
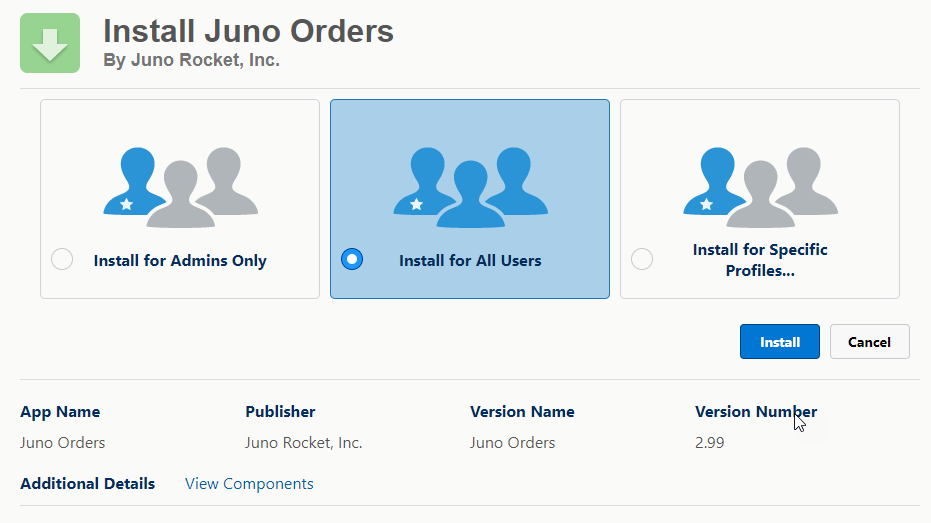
Once you click Continue, it may take 5-10 minutes for the application to complete installation.
Enable the Salesforce Quote Object
The Salesforce Quote Object is not enabled in Salesforce by default. We allow customers to utilize the standard Salesforce Quote Object and thus, it will need to be enabled.
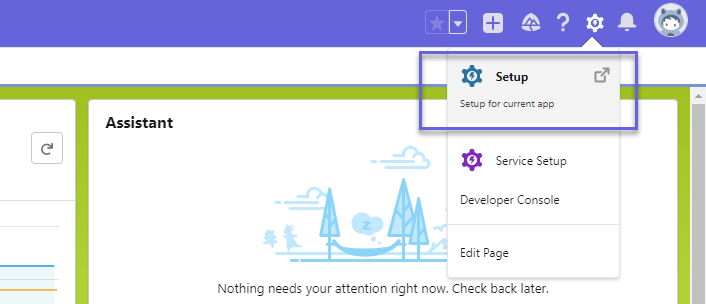
In the upper right corner of the screen, click the wheel Setup icon and click on Setup.
Search for the Quote setting and Enable Quote.
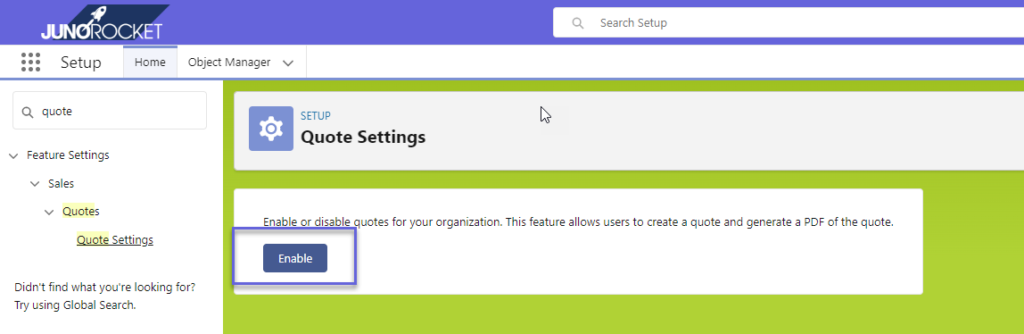
On the next screen, you can check all the boxes to add to the various Opportunity Layouts.
Post Installation
Once the installation is complete, you will see Juno Orders listed under the Installed Packages view in the Setup. Use the “Manage Licenses” link to assign licenses to your users.

Assign Licenses
Click on the Setup cog in the top right corner of Salesforce, then click “Setup”.
Navigate to Apps > Packaging > Installed Packages.
Next to the package name “JunoOrders”, you will click the Manage Licenses link.
You will see the Licensed Users users section with buttons and links to add or remove licenses.
Click Add Users and select the checkbox next to those users you wish to apply licenses to.
Permission Set Assignment
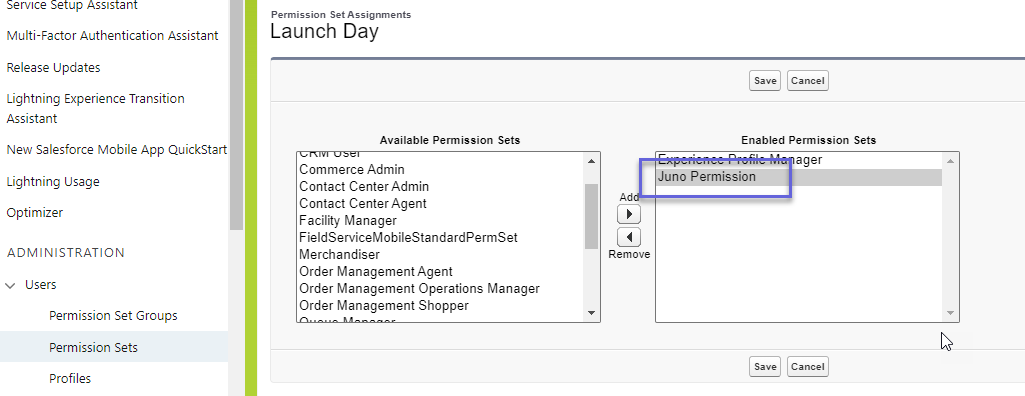
Juno Orders has its own Permission Set that you will want to assign to the users who will be using Juno Orders. Click on Setup then Users and select a user that needs permissions. Next, hover over the “Permission Set Assignment” link in the top left corner of the User screen and click the “Edit Assignments” button.
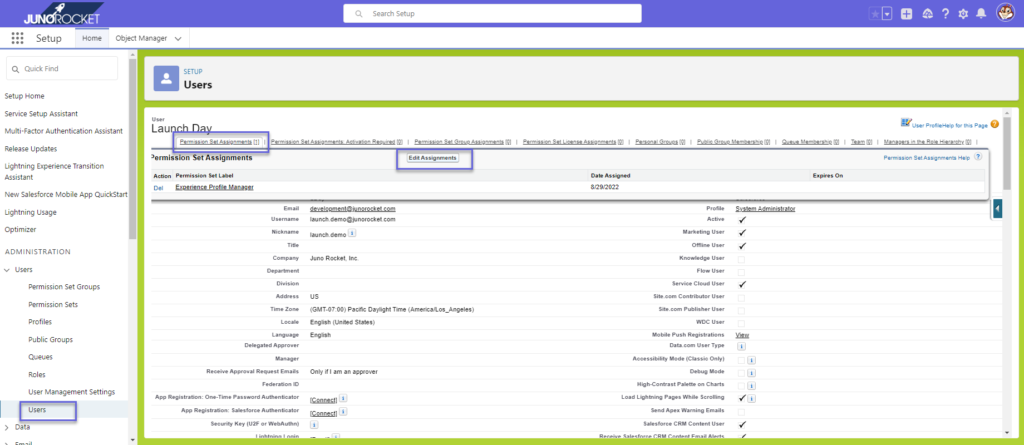
Move the “Juno Permission” to the “Enabled Permission Set” side and click “Save”.
Launching Juno Orders
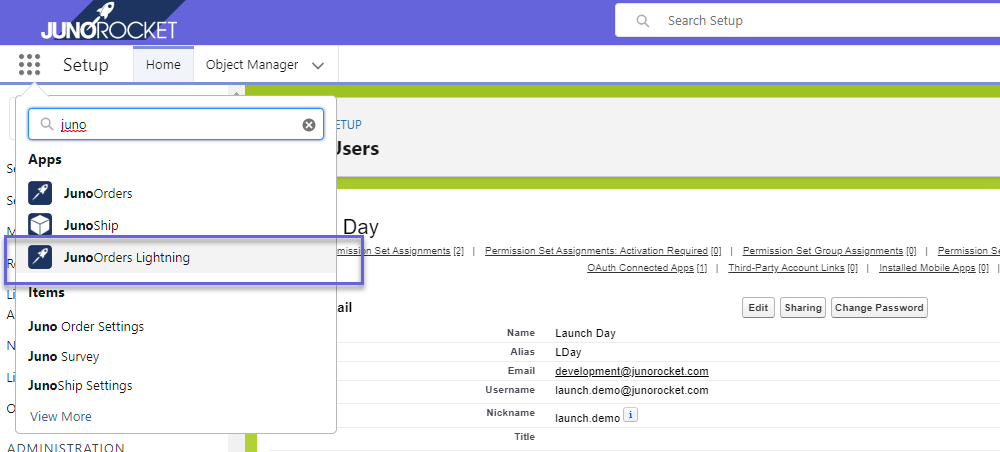
From the App Launcher in the upper left corner, search for “Juno” and Select Juno Orders Lightning.
Add Fields to Page Layouts
Juno Orders adds fields to several standard Salesforce Objects, including the Opportunity, Account, Contact and Product objects.
Opportunity Fields
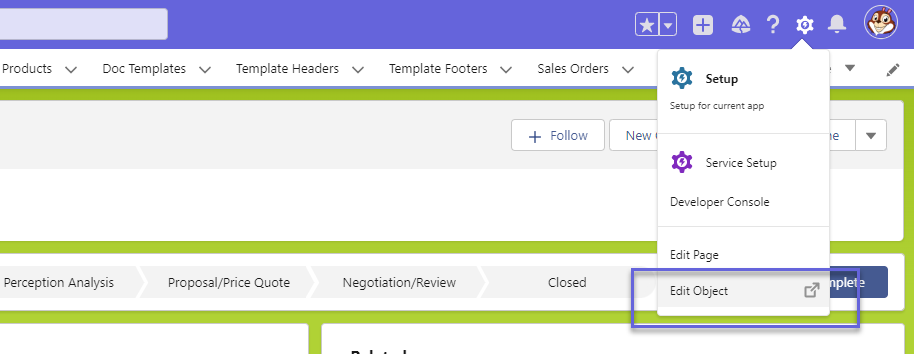
If you do not use Opportunities, you may skip this step. Select “Opportunities” from the JunoOrders menu. Click on any Opportunity. Click on the Setup Wheel, then “Edit Object”.
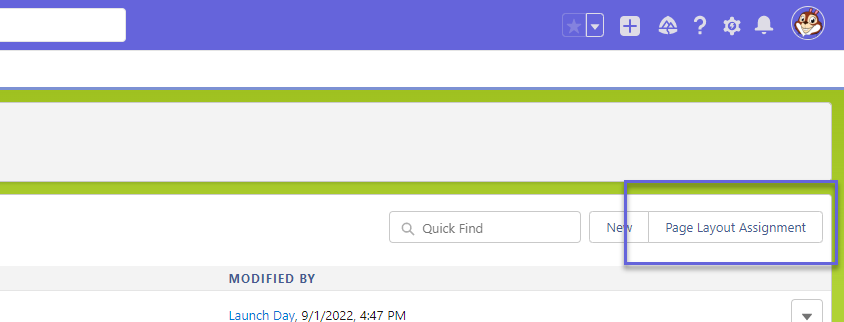
Click “Page Layouts” from the left side menu.
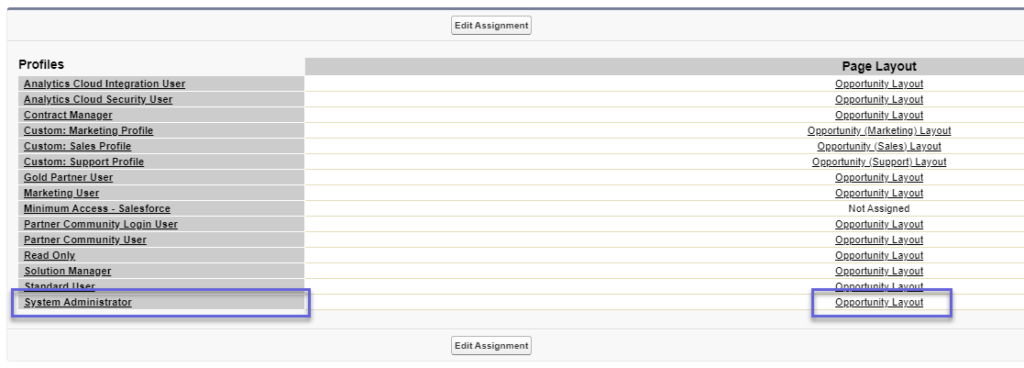
Have a bunch of layouts like below and not sure which one is correct? No problem, click the “Page Layout Assignment” button on the top right
Identify the most commonly used layout (usually the one assigned to the System Administrator) and click on the Opportunity Layout.
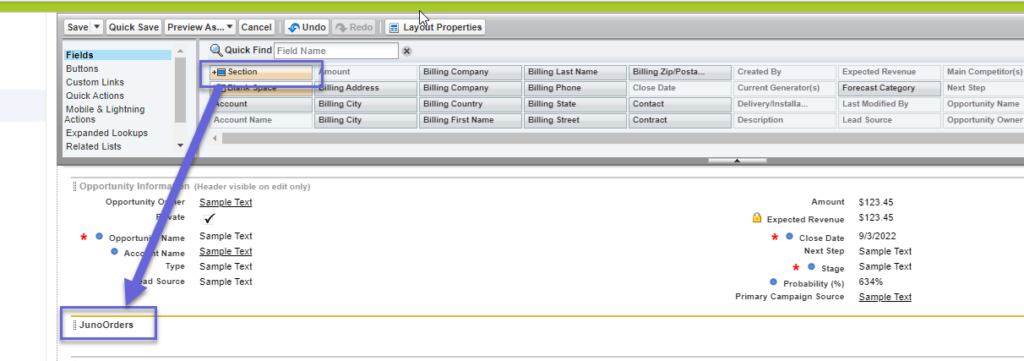
Now we can start adding the JunoOrders fields to the Opportunity page layout.
We start by adding a “JunoOrders” Section to the layout.
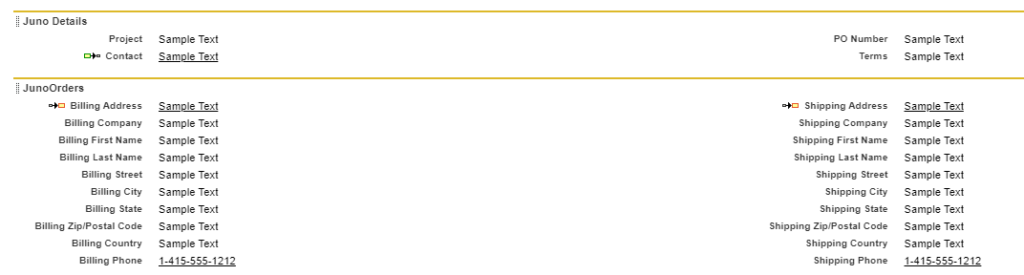
Now we add the Billing and Shipping Address fields to this new section. We can also add a second section for some other fields as shown below.
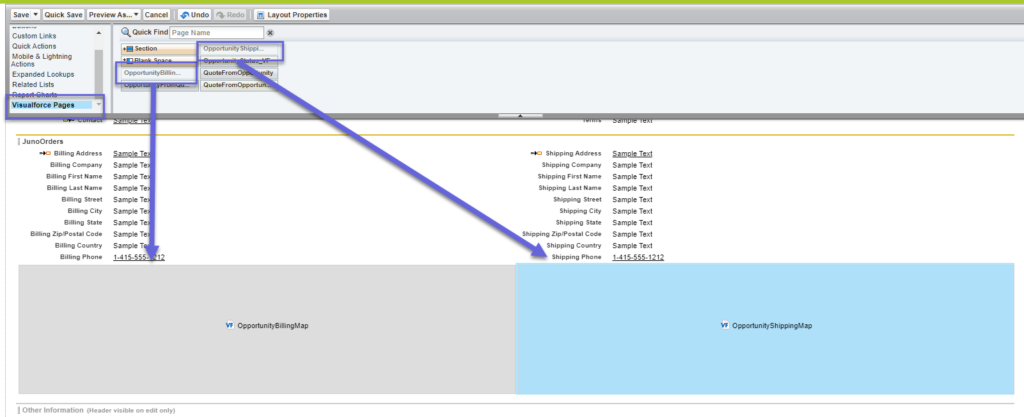
Now we add the Visualforce Map Feature for both the Billing and Shipping Addresses as follows.
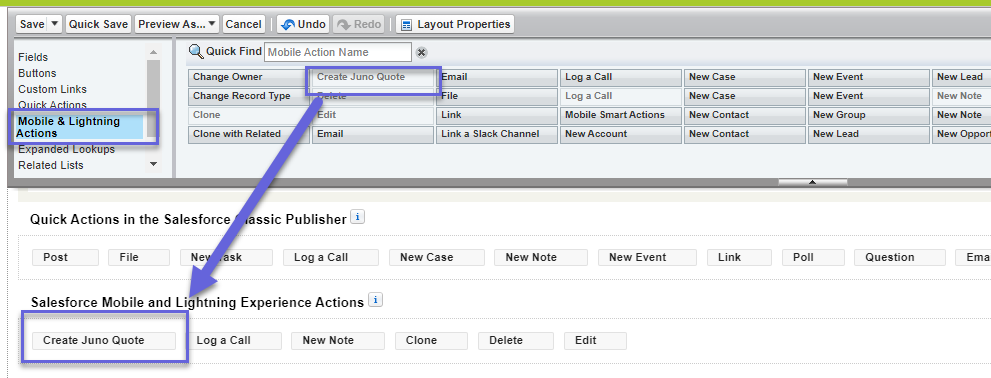
Next we click on the “Mobile & Lightning Actions” so we can add the “Create Juno Quote” button to the layout.
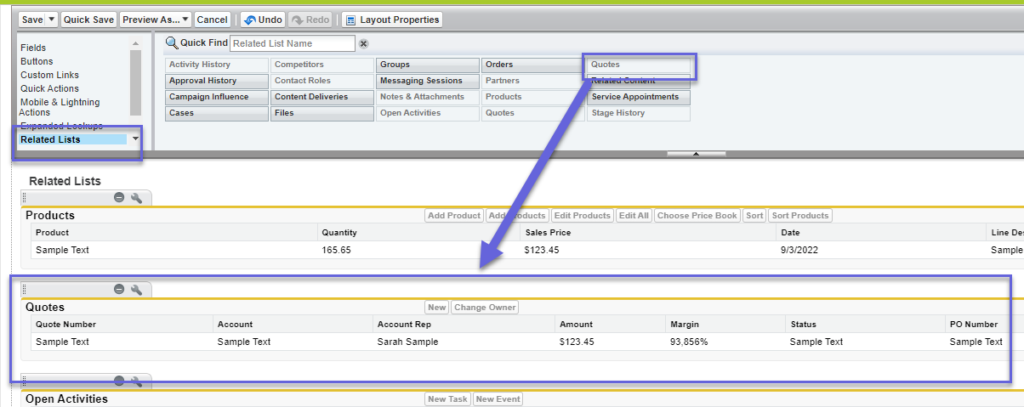
Lastly, we can click on the “Related Lists” menu so we may add the “Quotes” Related List for JunoOrders Quotes.
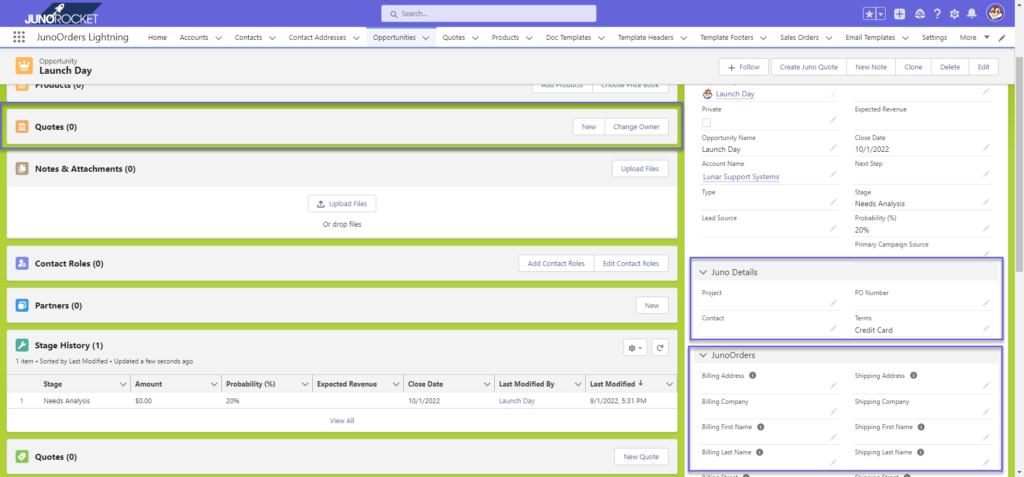
Click the Save button and return to the browser tab with the Opportunity shown. Refresh the browser page to show the updated layout. Sometimes Salesforce Lightning can take some time to display the updated layout. Logging out and logging back in will often force the refresh if it’s not happening quickly. Your layout should look similar to below.
Salesforce Quote Fields
If you are using the standard Salesforce Quote object, please make the following changes to your Quote page layout. This is an optional step, as not all customers use the standard Salesforce Quote object. Usually, customers who have already been using the standard Quote object will complete these steps, so they may convert existing Quotes into JunoOrders Sales Orders.
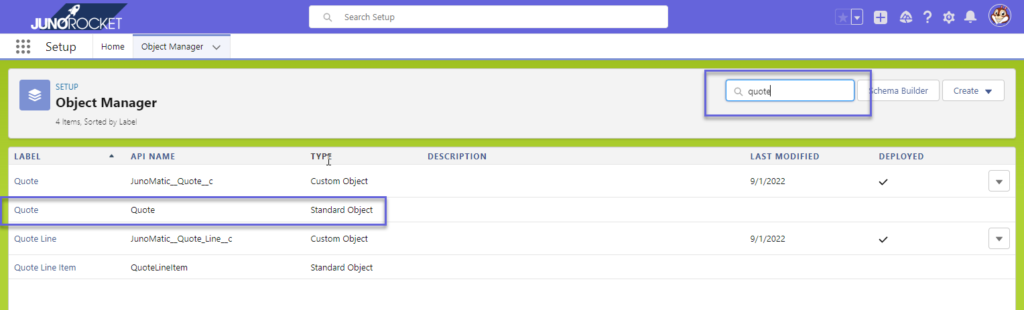
Got to Setup from the Wheel in the upper right corner of your Salesforce screen, then click on Object Manager
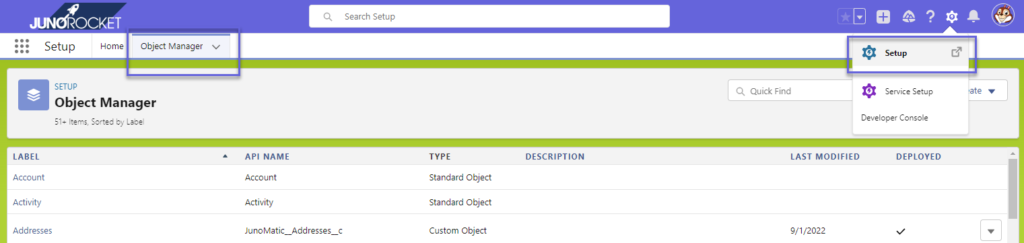
Search for “Quote” and click on the Standard Quote Object.
From the left menu select “Page Layouts”, then click on the currently used Page Layout. If you are not sure which one is current, refer to the instructions in the above Opportunity setup to see how this is done.
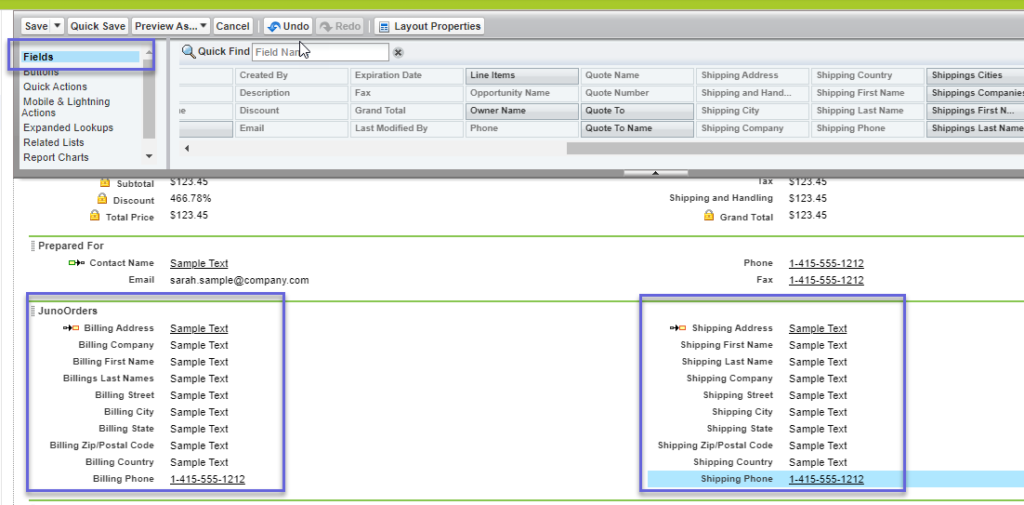
Create a JunoOrders “section” and drag the fields for both Billing and Shipping addresses as shown. More detailed instructions are in the Opportunity setup above.
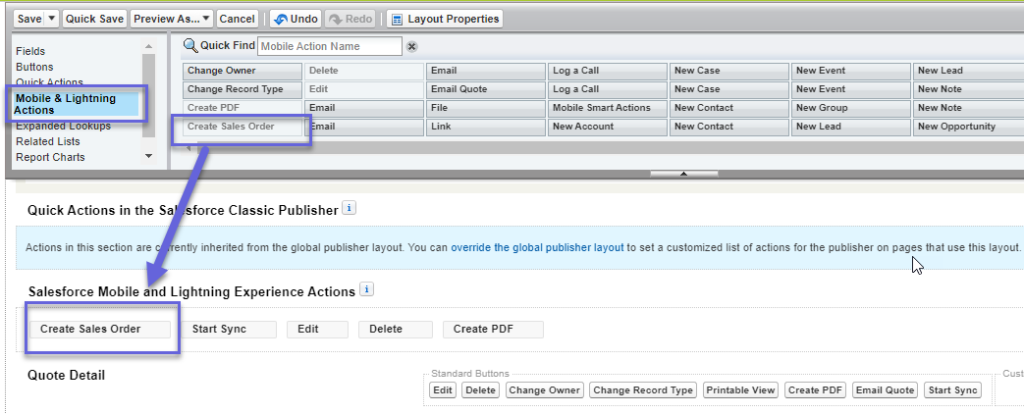
Click on the “Mobile & Lightning Actions” to add the “Create Sales Order” Button.
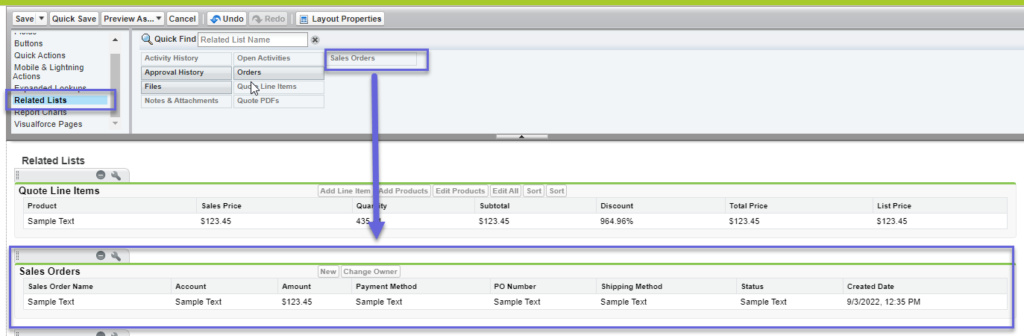
Click on the “Related Lists” and drag the “Sales Orders” related list onto the layout.
Click “Save” to save the Page Layout changes.
Account Layout
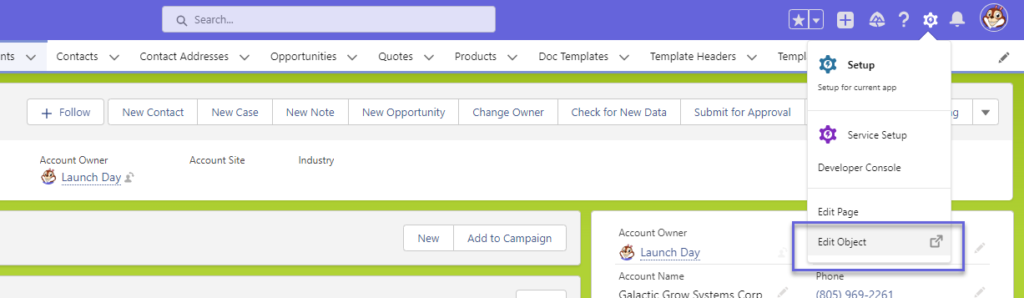
Click on any Account to view the Salesforce Account Page. Click on the wheel in the top right corner, then select Edit Object.
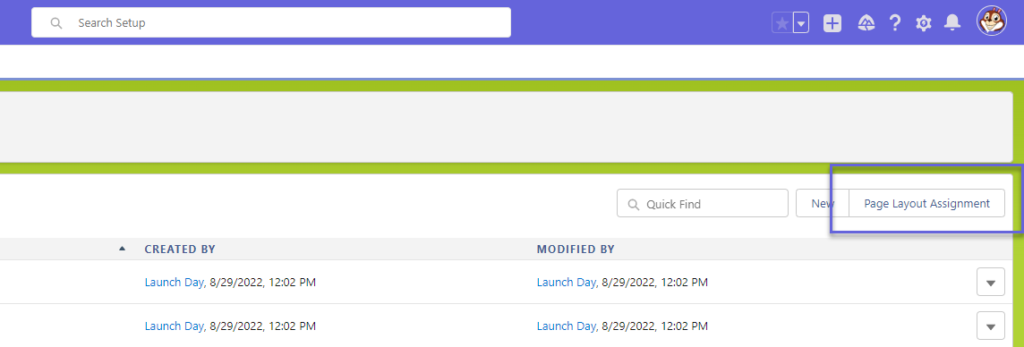
From the left panel click on Page Layouts

Have a bunch of Page Layouts and not sure which one is right? Click on the Page Layout Assignment button on the top right.
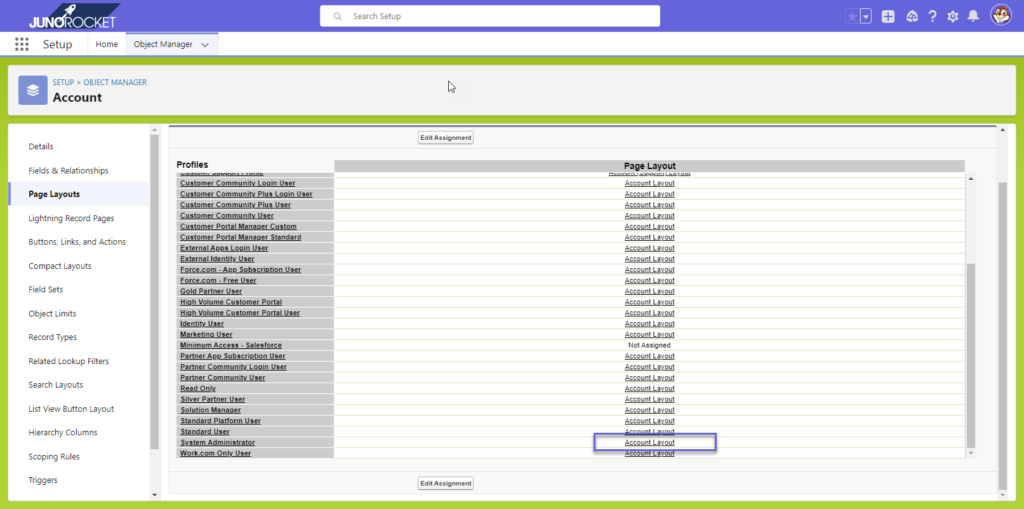
Pick the Page Layout used by the Profile you want to make changes to.
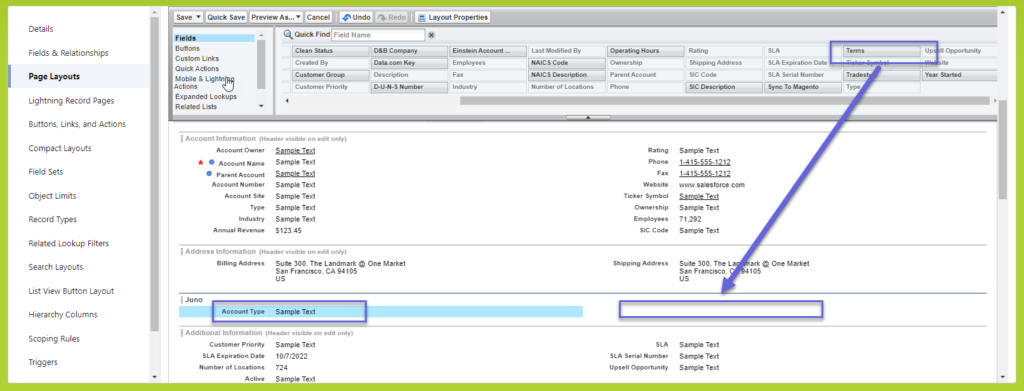
Drag a new Section down and name it “Juno”.
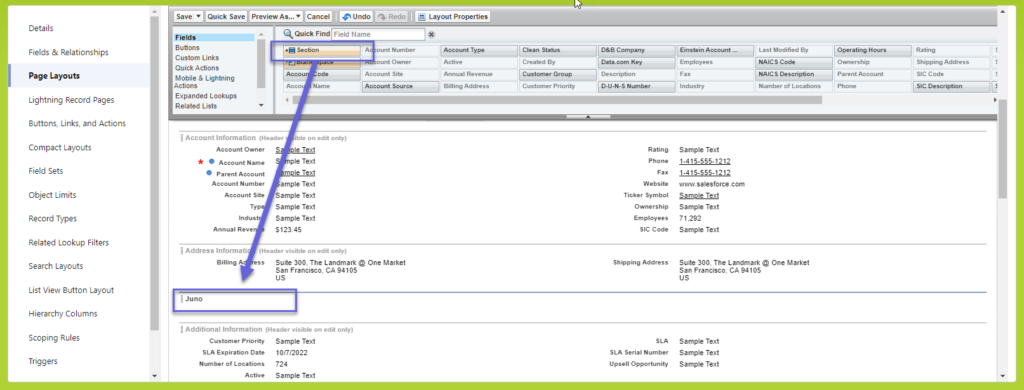
We’re going to add two fields to this newly created Juno section. “Account Type” and “Terms” as shown here.
In the Sub Menu, click on Related Lists.
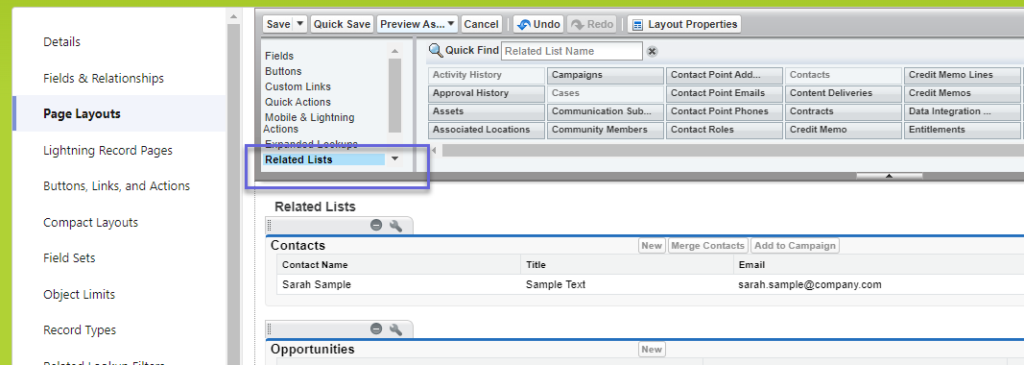
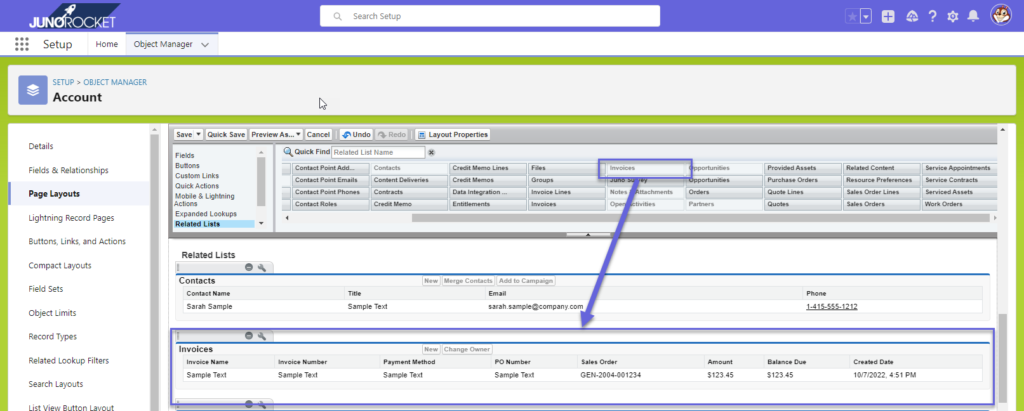
We have several Related Lists that you can add to the Account Layout. While these are optional, we recommend you add the following to get started. Remember, you can always come back here and change things later.
Available Related Lists you may add to the Account Layout:
- Quotes
- Sales Orders
- Invoices
- Credit Memos
- Purchase Orders
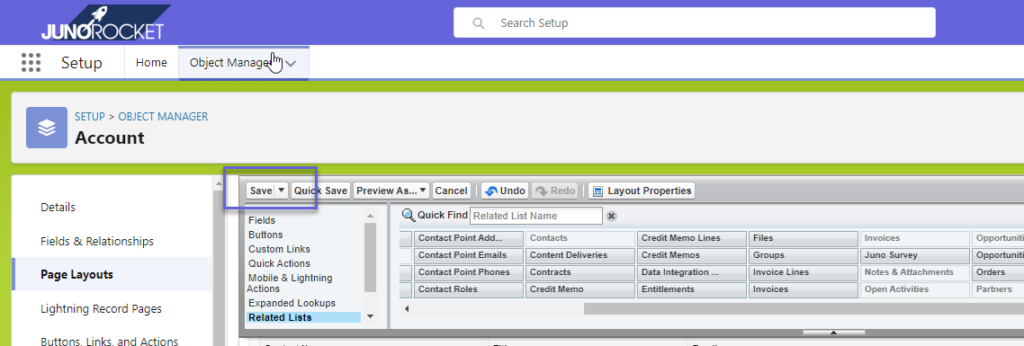
Click Save in the upper left corner.
Contact Layout
Using the same steps from above, we will click on any Contact, then click on the Setup wheel and select Edit Object. We will once again click on Page Layouts from the left menu and locate the Page Layout we wish to edit. Review the steps above for the Account Layout if you need specifics on how to arrive here.
Add a Section and name it “Juno”, then drag down the fields “AP Contact” and “Vendor Contact”.
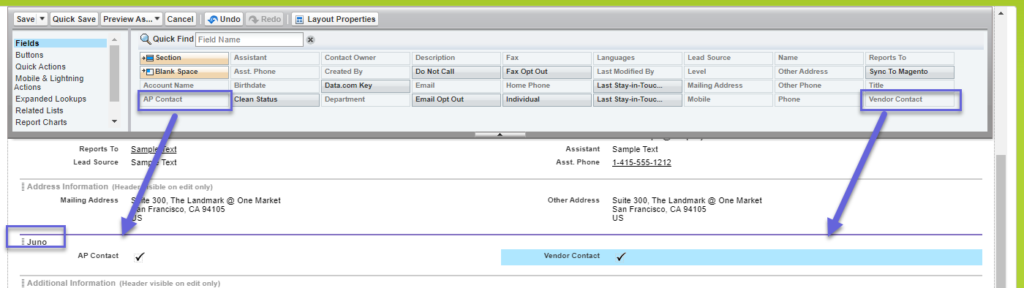
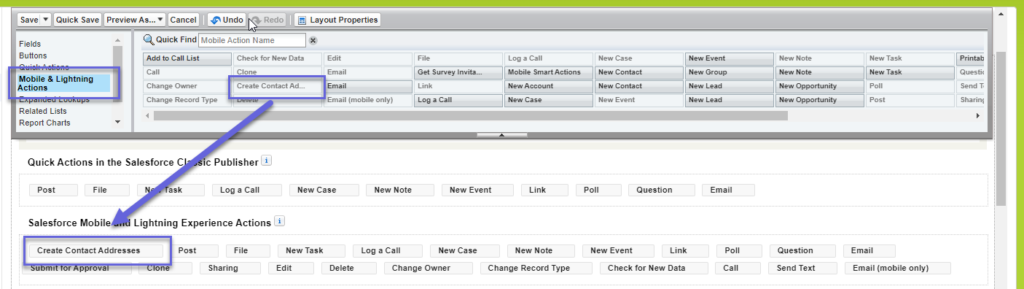
From the Sub-Menu, click on “Mobile & Lightning Actions”, then pull the Button “Create Contact Addresses” onto the button section.
Again from the Sub-Menu, click on the “Related Lists”. Add the following Related Lists to this Contact Page Layout.
- Contact Addresses
- Quotes
- Sales Orders
- Invoices
- Purchase Orders
- Credit Memo

Save the changes made to the Page Layout.
Product Layout
Using the same steps from the Account Page Layout, we will click on any Product, then click on the Setup wheel and select Edit Object. We will once again click on Page Layouts from the left menu and locate the Page Layout we wish to edit. Review the steps above for the Account Layout if you need specifics on how to arrive here.
Similar to above Account & Contact Layouts, we will add a Juno Section to the Page. Then will will add the following fields to the newly created Juno section.
- Product Price
- Product Cost
- Product Type
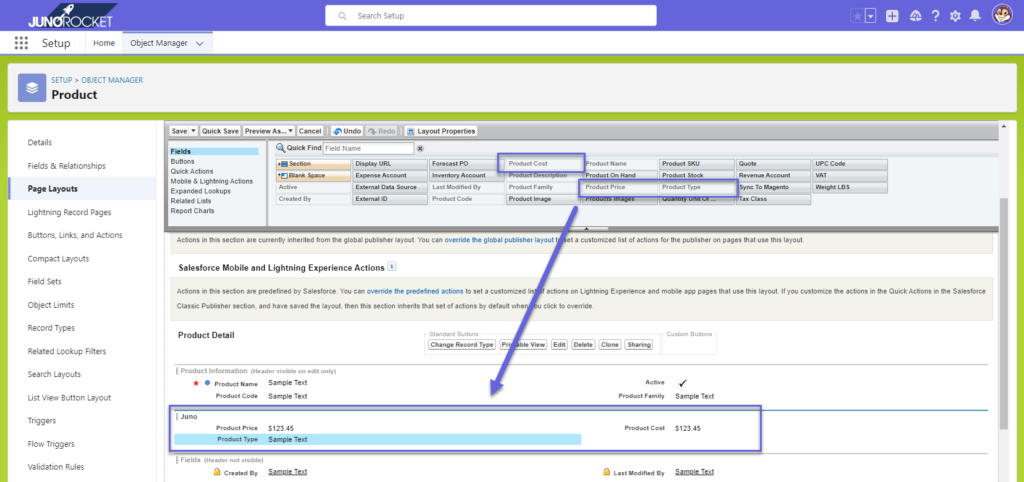
Click Save to save the changes to the Product Page Layout.
Document Templates
Juno Orders includes Document & Email Templates for the following Objects:
- Quote
- Sales Order
- Packing Slip
- Invoice
- Purchase Order
- Credit Memo
You will want to customize the templates to include your company logo and business address.
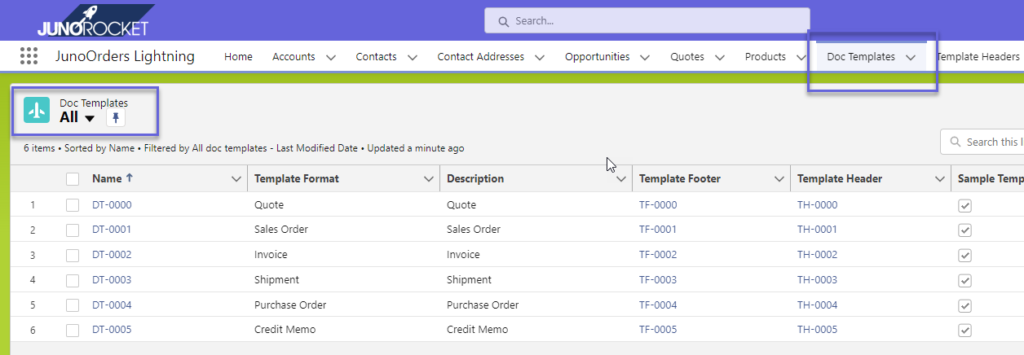
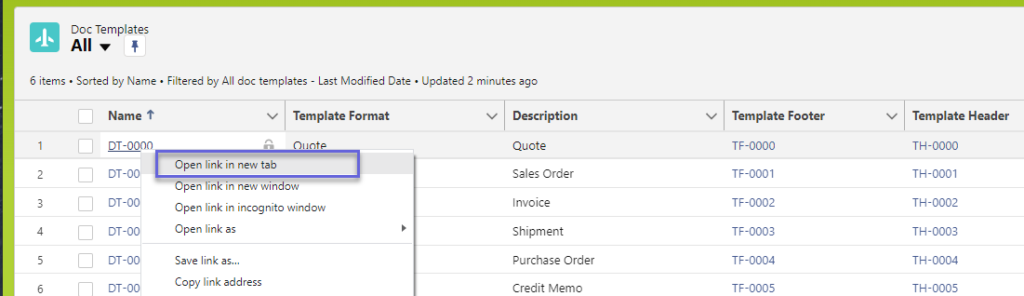
To view the installed list of Document Templates, click on the “Doc Templates” Object from the main ribbon for Juno Orders. Change from “Recently Viewed” to “All” and click the Pin to make this your Pinned View.
Right click on the Quote Template DT-0000 and open in a new browser tab.
Header
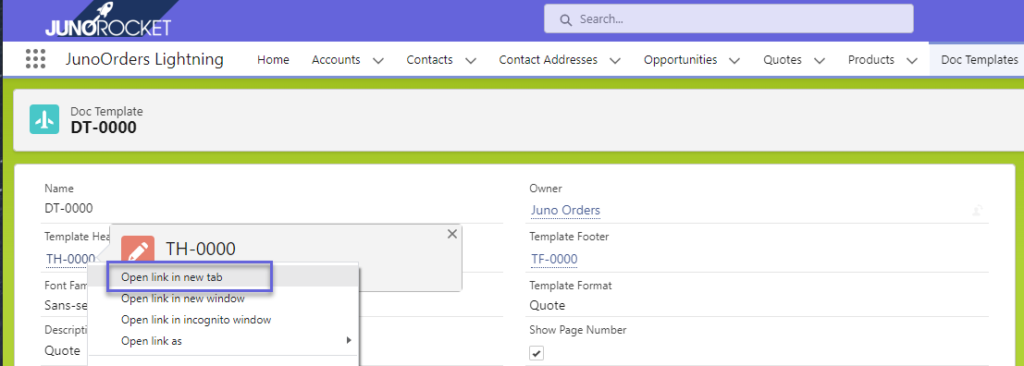
There are three parts to each document. The Header, Body and Footer. In this view, you are looking at the Body. You will also see links to view the Header and Footer. Right click on the Header an open in a new tab.
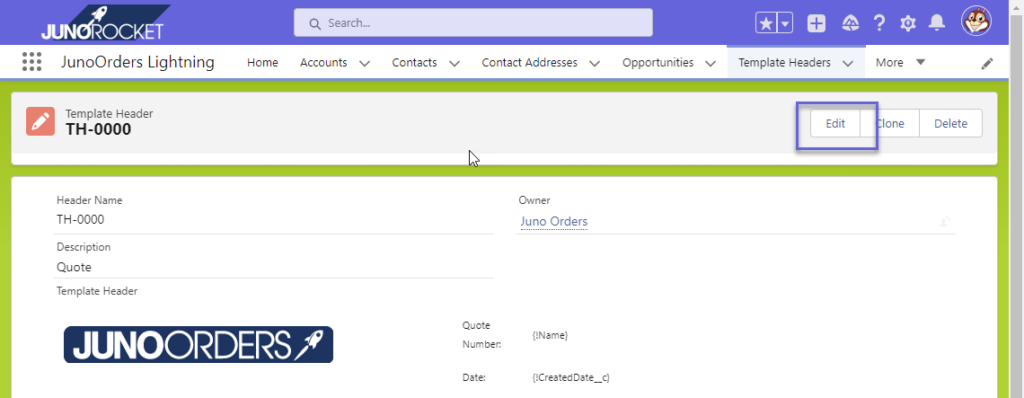
The Header contains a space for your company logo, along with your business address. All of the templates have this feature. Click “Edit” to make changes to this Header.
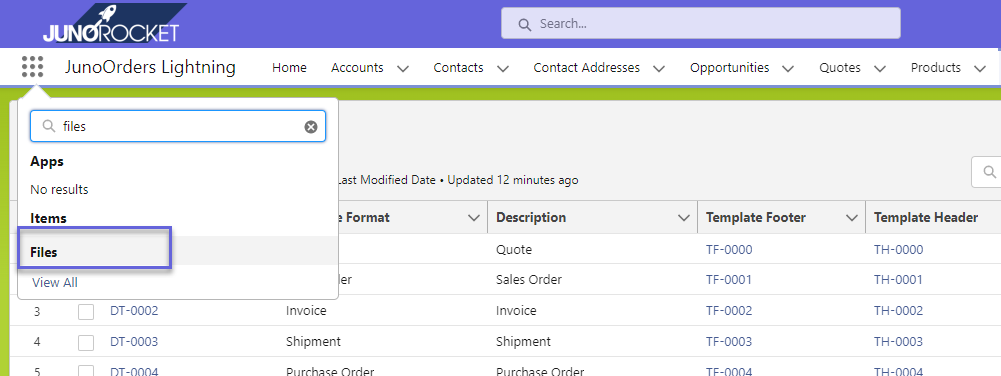
Before we can update the logo, we need to make sure you have a logo already uploaded into Salesforce that we can use for this template. In another Salesforce browser tab, Click on the App Launcher and search for “Files”. Click on Files.
Use the Upload Files button to upload a PNG or JPG version of your logo file. The logo should not exceed 100px High x 300px Wide. You have a little wiggle room here, but these are what generally look good.
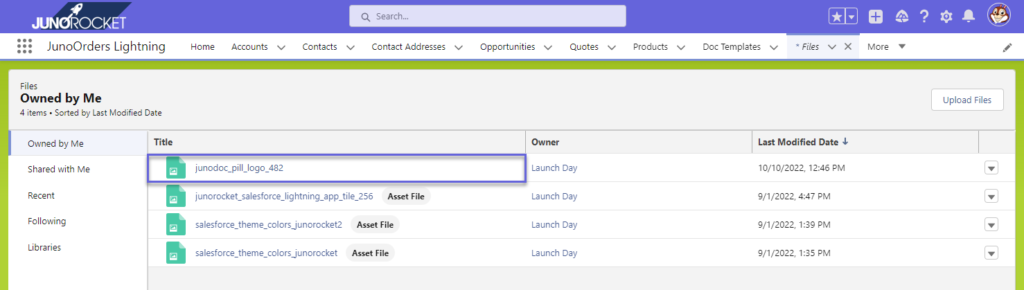
Click on the newly uploaded logo file to view it. Right click on the image and select “Copy image address”. Paste this link into a text file for reference.
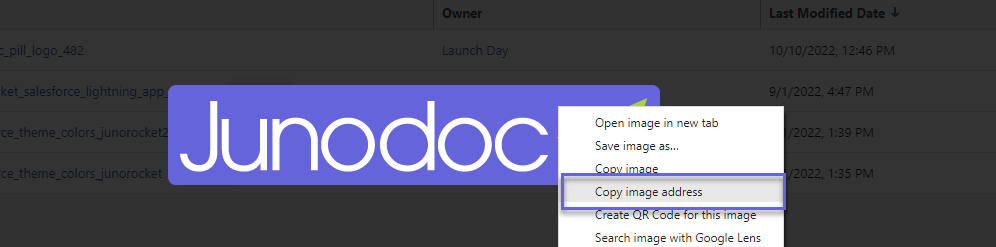
Copy the part of the URL immediately after the .com portion of the URL. We will use this on our other tab we already have open for the Document Header.

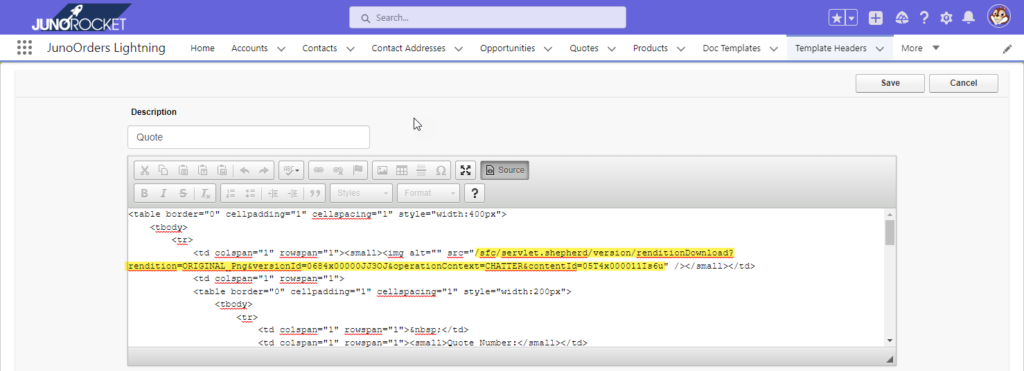
Back on our other tab where we are editing the Quote Header, click on the “Source” button to view the HTML.
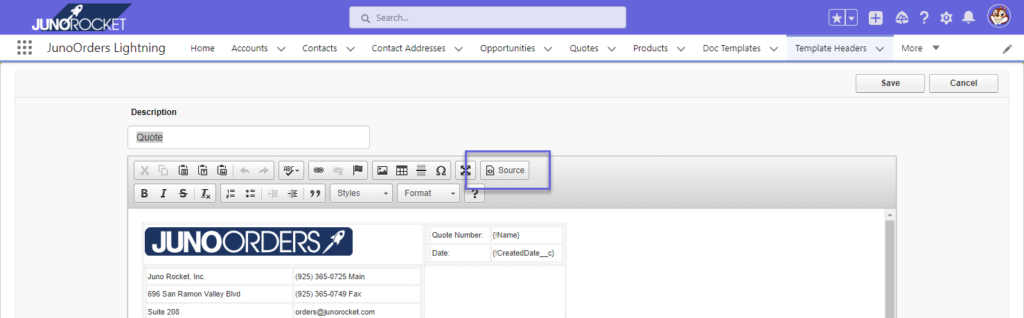
This will allow us to view the HTML directly. We are going to highlight the image URL that we are going to replace with the URL segment we highlighted in our text file. We are careful to only select the URL between the quote marks as shown here.
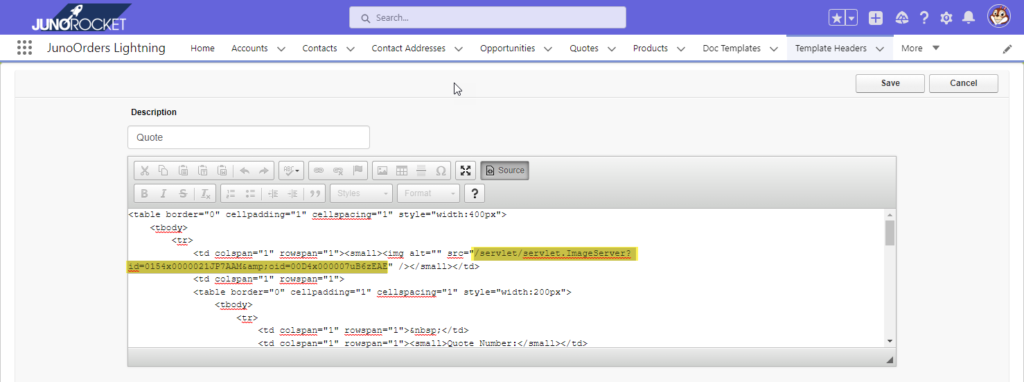
We then paste in the URL segment from our text file that we highlighted a few steps earlier. This is what the URL should look like after you paste in the new link/
Click the “Source” button again to return to the WYSIWIG editor. You should see your new logo as shown. For reference, this sample logo size used here is 300W x 60H.
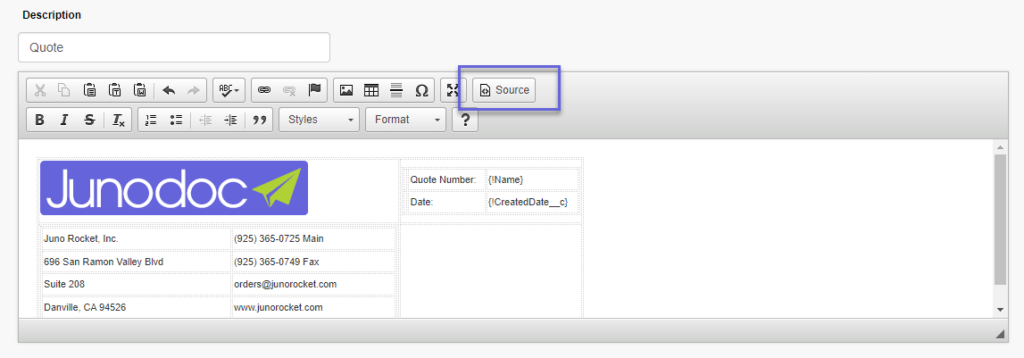
You may continue by changing the text to reflect your company name, address and contact details. You may also repeat these steps to customize the footer. Generally speaking, you should not have to immediately modify the body of the template, unless you have specific requirements not being met by the available fields.
Click Save to save the changes after you are done editing the template.
Repeat this process for the remainder of the Document Templates.
Template HTML
If you need to retrieve updated HTML for use with your JunoOrders Junodoc templates, we have made these available here. When we perform updates and add new functionality, we will update the HTML templates here for your use.
| Object | Header | Body | Footer | |
| Quote | Get | Get | Get | Get |
| Sales Order | Get | Get | Get | Get |
| Packing Slip | Get | Get | Get | |
| Invoice | Get | Get | Get | Get |
| Purchase Order | Get | Get | Get | Get |
| Credit Memo | Get | Get | Get | Get |
Email Templates
Email Templates exist for all of the main Objects in Juno Orders. This includes the following:
- Quote
- Sales Order
- Invoice
- Purchase Order
- Credit Memo
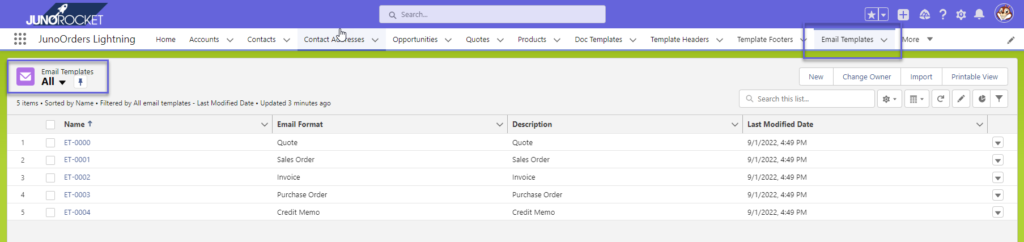
Click on the Email Templates from the top ribbon. On the left side, switch from “Recently Viewed” to “All”. Click on the Pin to make the “All” view the default Pinned View.
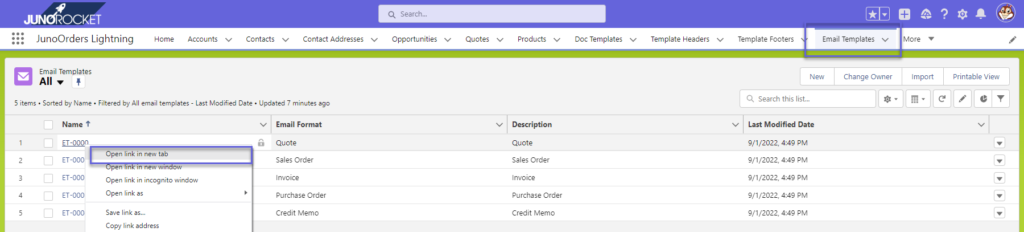
Right click on the ET-0000 Quote Email Template and open in a new tab.
Similar to the PDF Templates, you may edit the Email Templates. You may also insert Object variables into the Subject Line and the Body of the Email.
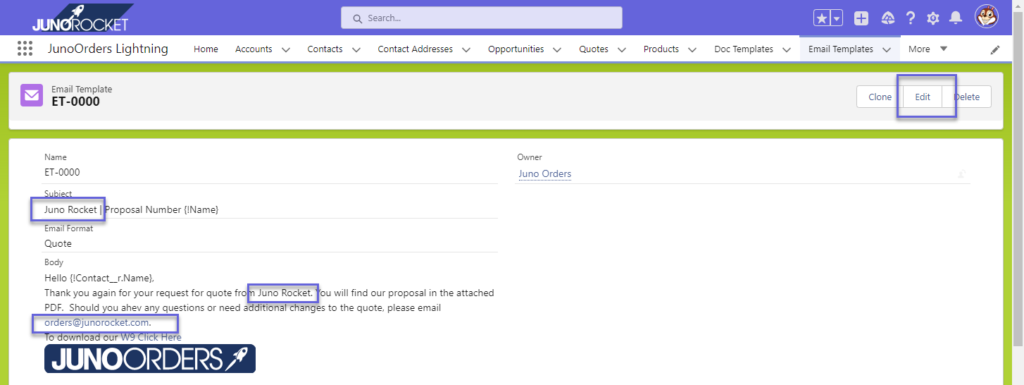
A quick note regarding the logo in these email templates. Unlike the PDF templates, the email template needs to have a publicly available logo image. For example, you can grab the link from your WordPress website, a Google shared image, or some other publicly available image link. You can see in this demo, we host this image using an Amazon S3 bucket.
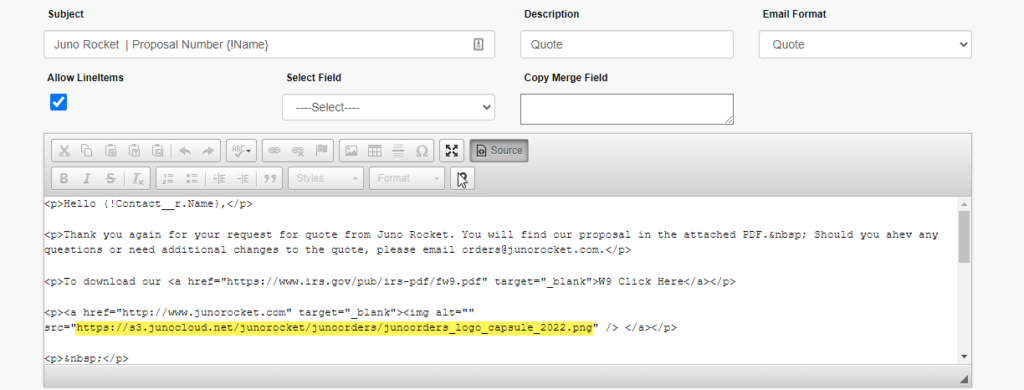
Make changes as needed to the email templates and save.
Contact Addresses
Salesforce offers two address fields on the Contact by default. Often, customers have more than one or two addresses for Quotes and Orders. JunoOrders includes a Contact Address feature, which allows the User to create as many Contact Addresses per Contact as they wish.
As part of the installation, you may create these new Contact Addresses from the existing addresses already present on the Contact.
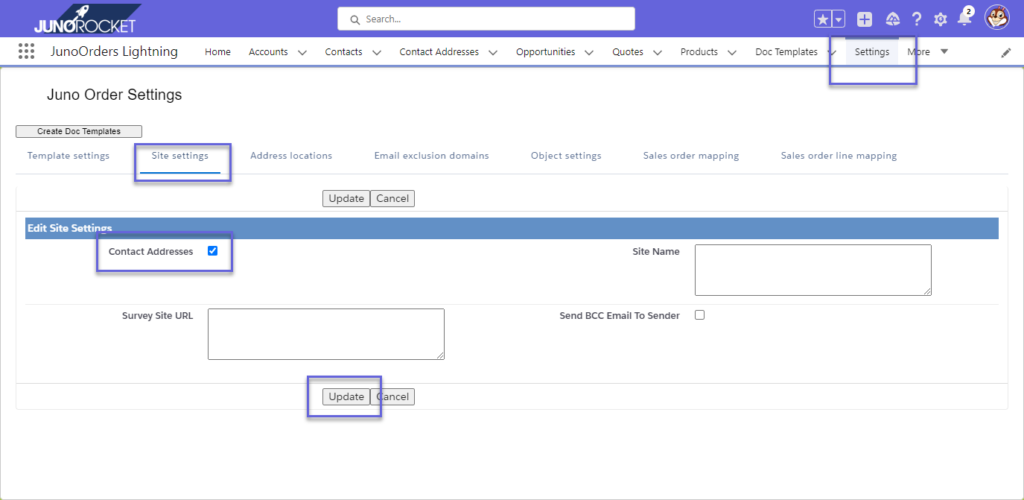
In JunoOrders, navigate to the Settings object, click on the Site Settings, then click Edit. Check the box for Contact Addresses and click the Update button.
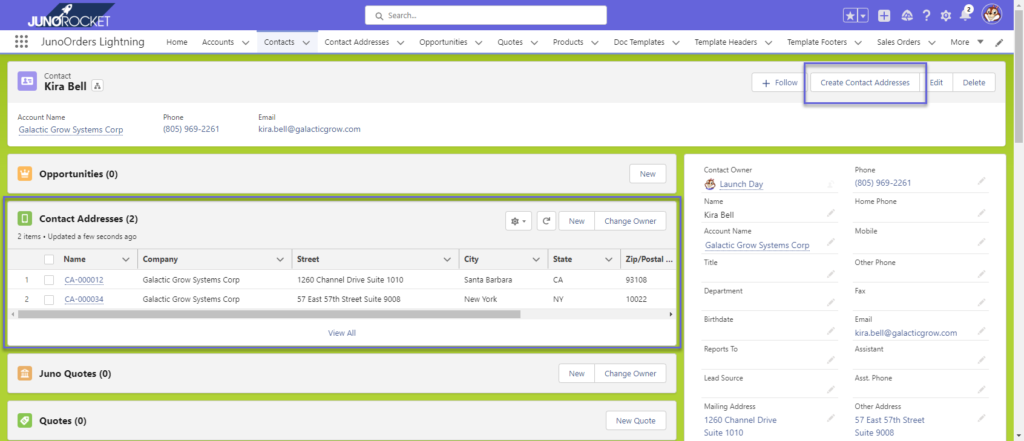
Going forward, any new Contacts that are added to Salesforce, you can click on the Create Contact Address button to manually create any Contact Addresses.
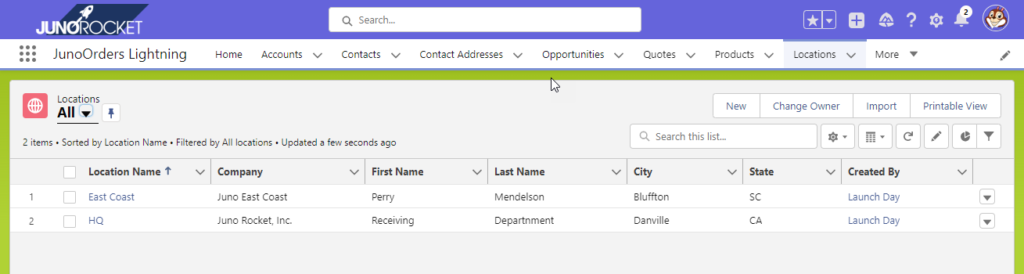
Locations
Salesforce does not have a concept of Locations. If your business has one or more locations where products and or services need to be rendered, you can setup these Locations as follows.
Click on the Locations Object from the ribbon, then click New. Fill in the details of your office, warehouse or other locations as needed for your organization.
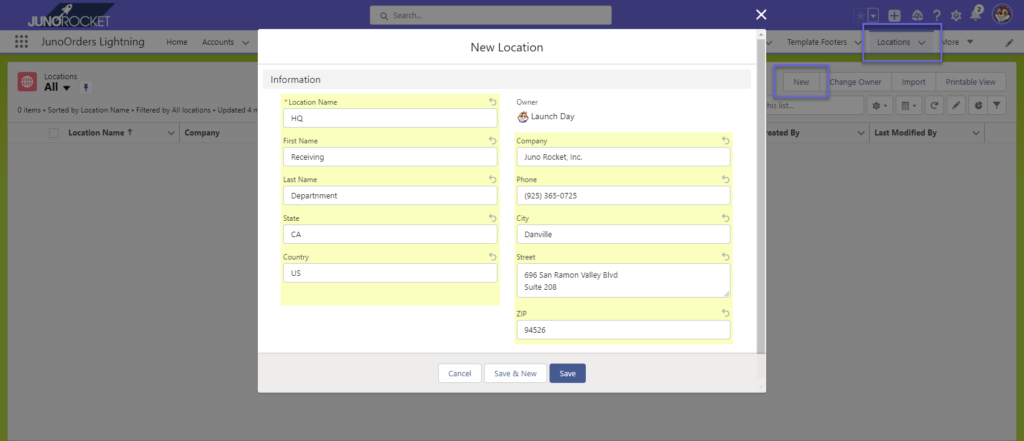
Add as many Location addresses as your organization requires.