Although JunoSync is a 100% native Salesforce application that seamlessly synchronizes information between Juno Orders and Quickbooks, we highly recommend having one of our specialists work with you to make sure the deployment goes smoothly. This is an important tool that can make your business far more efficient, so we would rather be involved early in order to streamline the process.
Book a meeting time with one of our specialists here https://junorocket.com/contact to learn more.
To begin, you will need to be logged into your Salesforce account. Open a new browser tab and go to the AppExchange to find JunoSync QuickBooks.
If you are not familiar with using the AppExchange, we have a tutorial here that walks you through the process. https://support.junorocket.com/knowledge-base/leaving-a-review-in-appexchange/
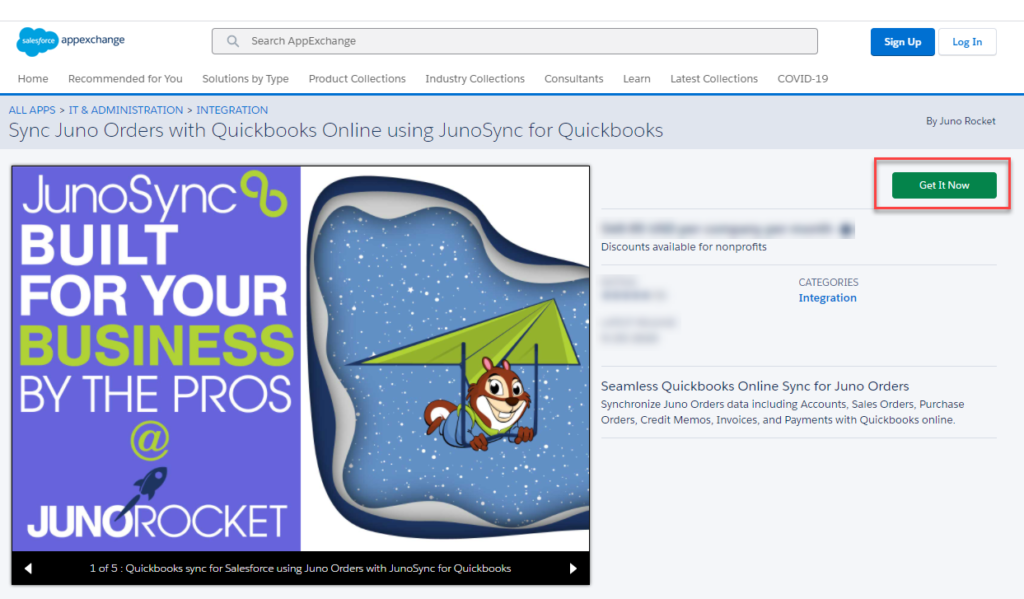
Once you are viewing the JunoSync Quickbooks listing as shown below, you can click on the green “Get It Now” button to begin the installation.
JunoSync AppExchange
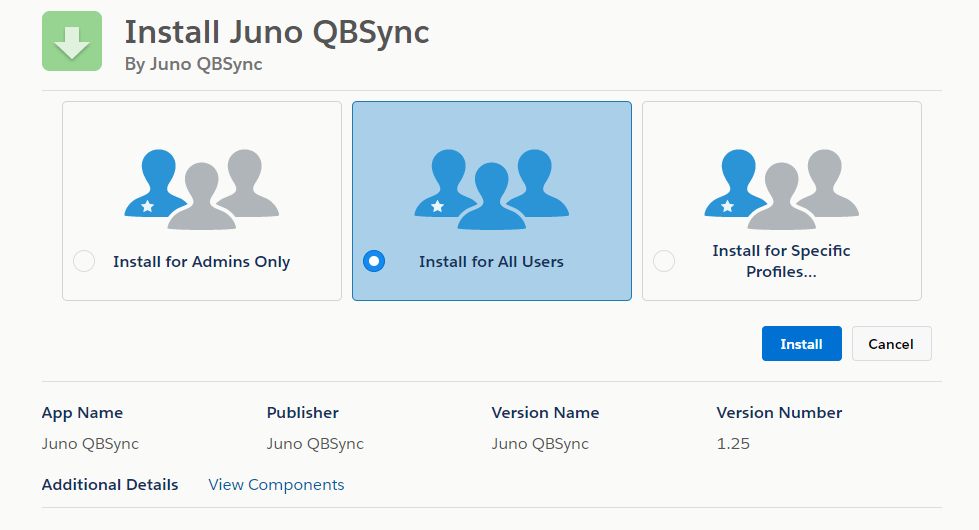
Below we show the selected “Install for All Users”, in larger organizations, you’ll want to check with your administrator for the option that works best for you.
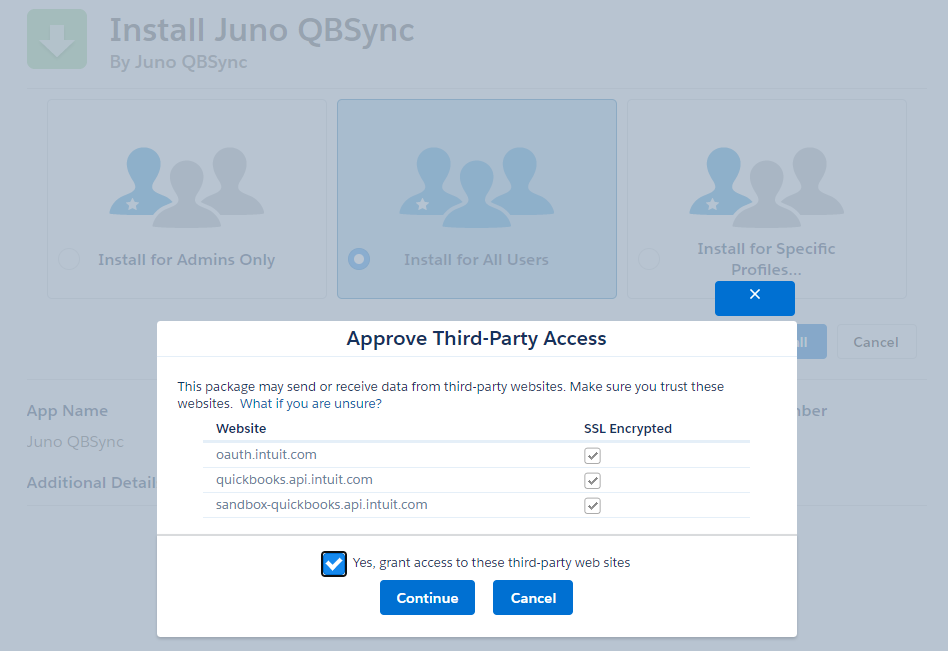
Because we are connecting to an outside resource, you’ll need to grant Third Party Access. Note: This connection is direct to Intuit Quickbooks Online. So there is no other party involved.
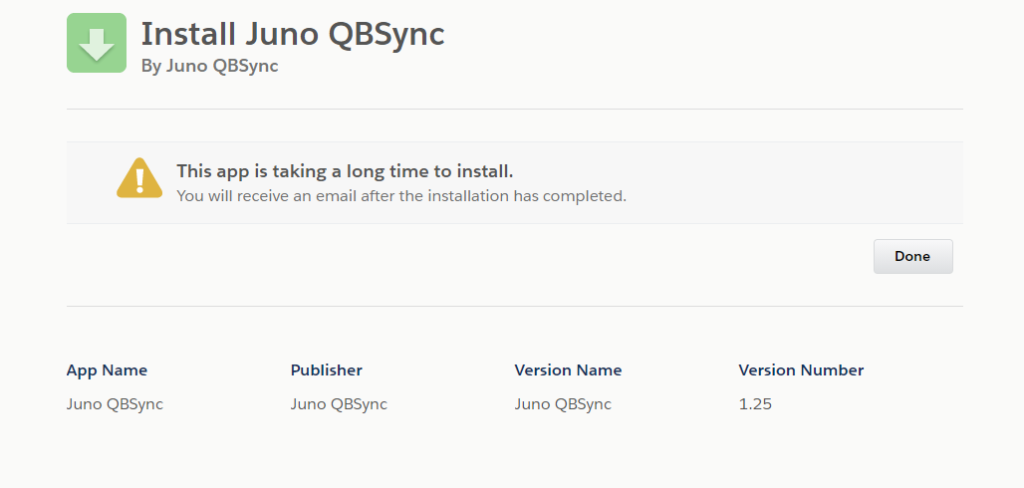
Once the installation begins, you will receive a message similar to below. This is normal. The installation takes less than five minutes, so you can safely click “Done” and then just wait a few minutes for Salesforce to send you an email letting you know that the install is complete.
Accessing JunoSync
Once the installation is complete, you can access the JunoSync app by using the app launcher in the upper left corner and search for JunoSync.
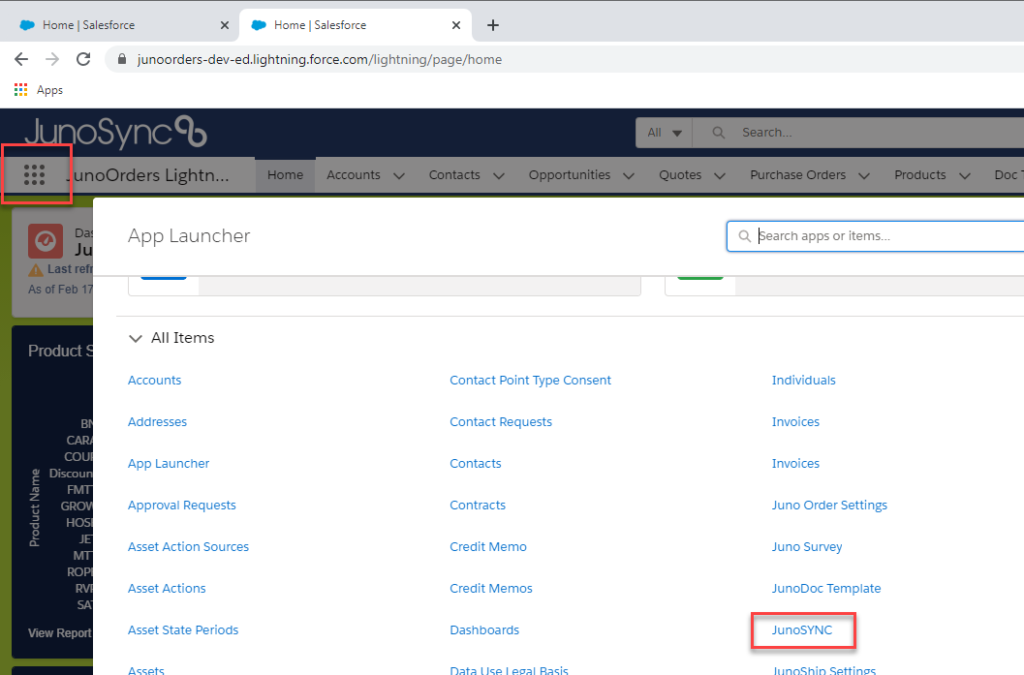
Once you launch the JunoSync application, you will see the Credentials tab of the configuration window as shown below. Next, we will populate these fields.
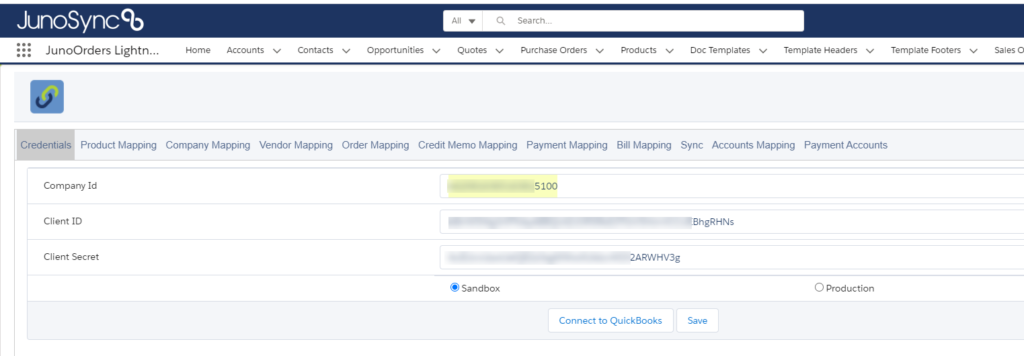
Quickbooks Credentials
First, we will obtain our Quickbooks ID to populate the first field in on the Credentials tab. In Quickbooks, look for the wheel in the upper right corner, then click on “Account and Settings”.
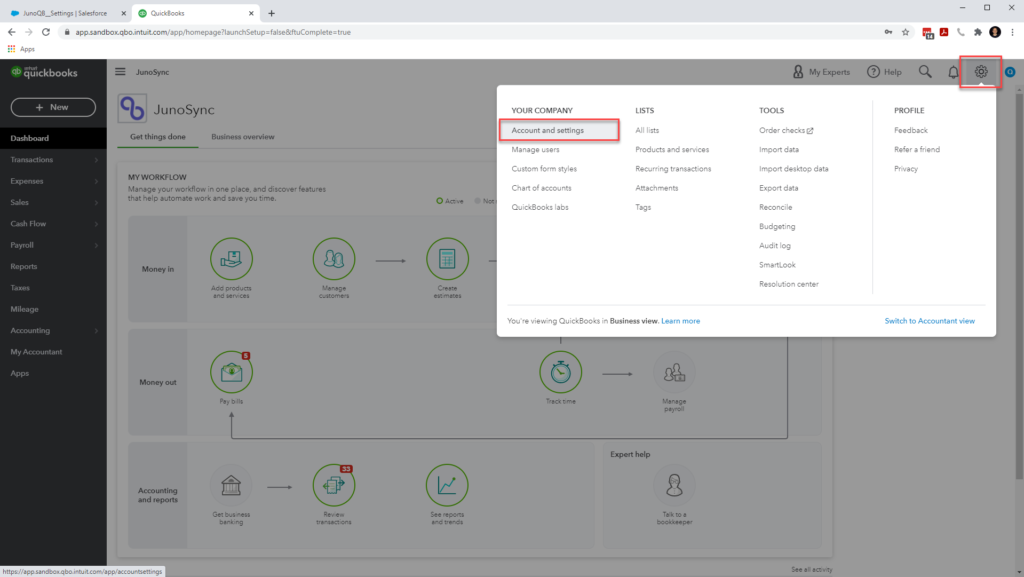
You will find the Company ID on the “Billing & Subscription” tab as shown below. Copy and paste this ID into the space on the JunoSync Cedentials tab in Salesforce. Don’t forget to take out the spaces!

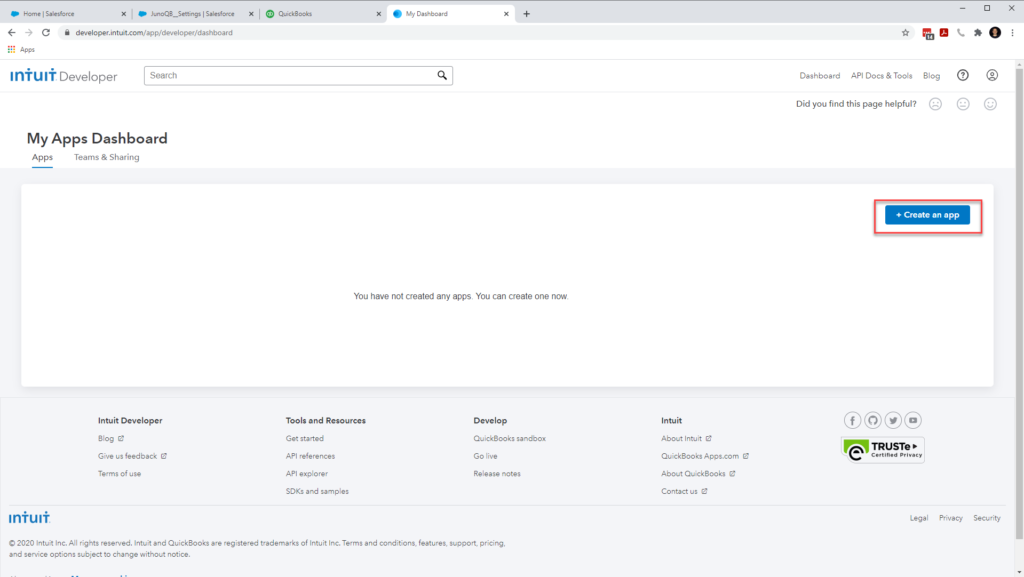
In a new browser tab, go to the Quickbooks Developer site. Here is the link: https://developer.intuit.com/app/developer/homepage
Click on the + Create an app button.
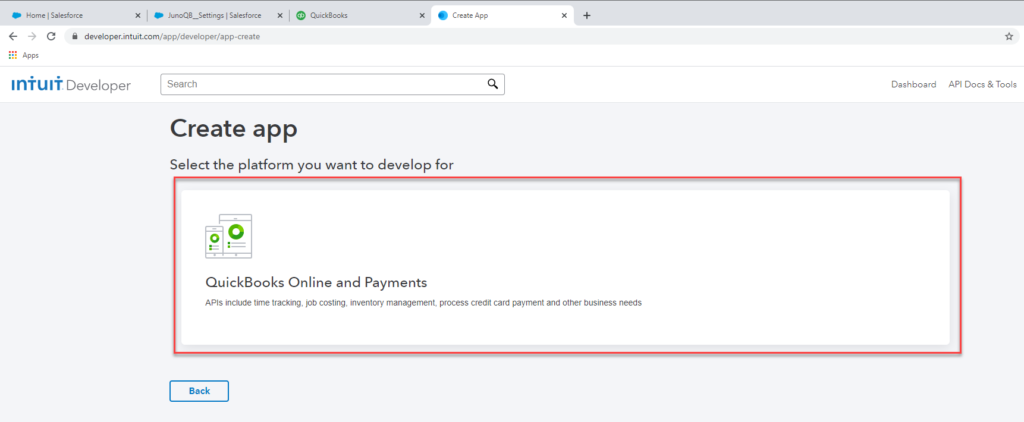
The only option will be to select “QuickBooks Online and Payments”. Click this big button.
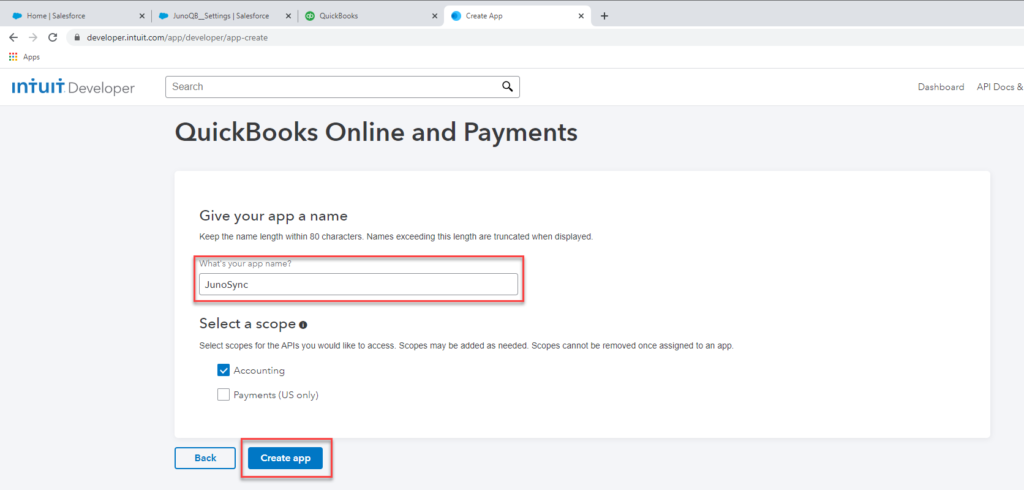
Give your app a name. We kind of like “JunoSync”, but you can name it whatever you want.
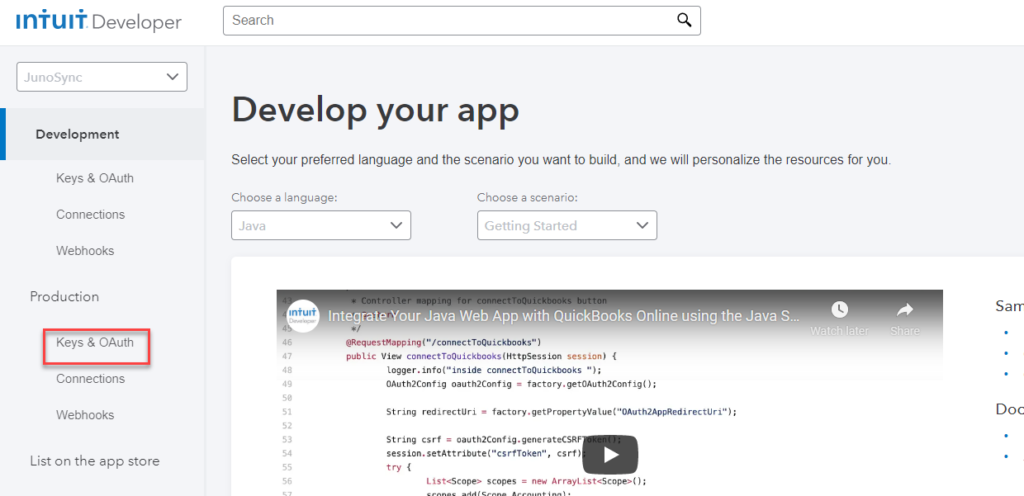
Assuming this will be for your production environment, you will click on “Keys & OAuth” under the Production menu on the left.
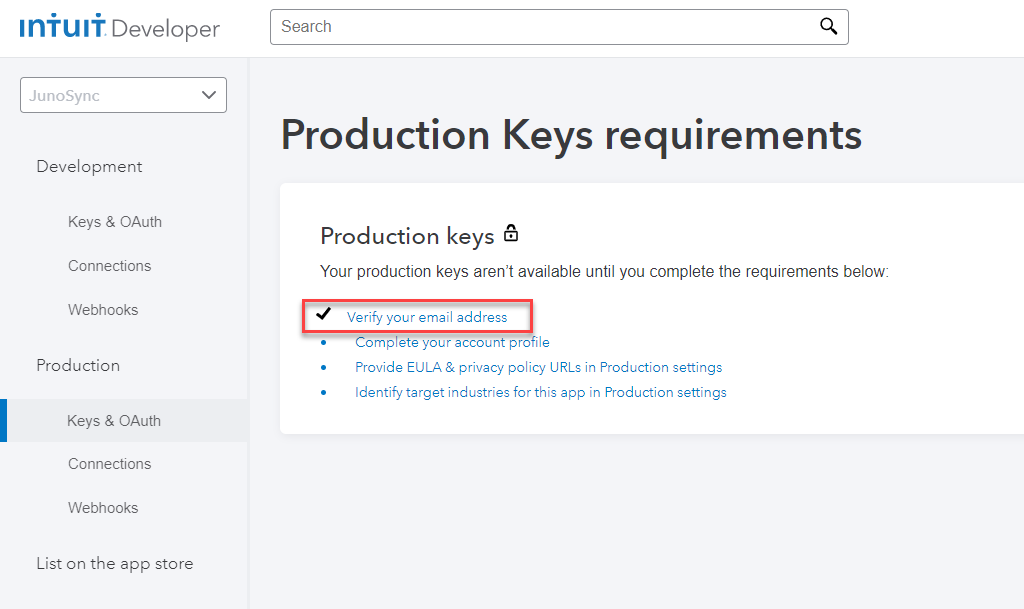
This should be the screen you now see. At this time, you’ll want to check your email to confirm your intent to establish a developer account. That will create the first checkmark as shown below.
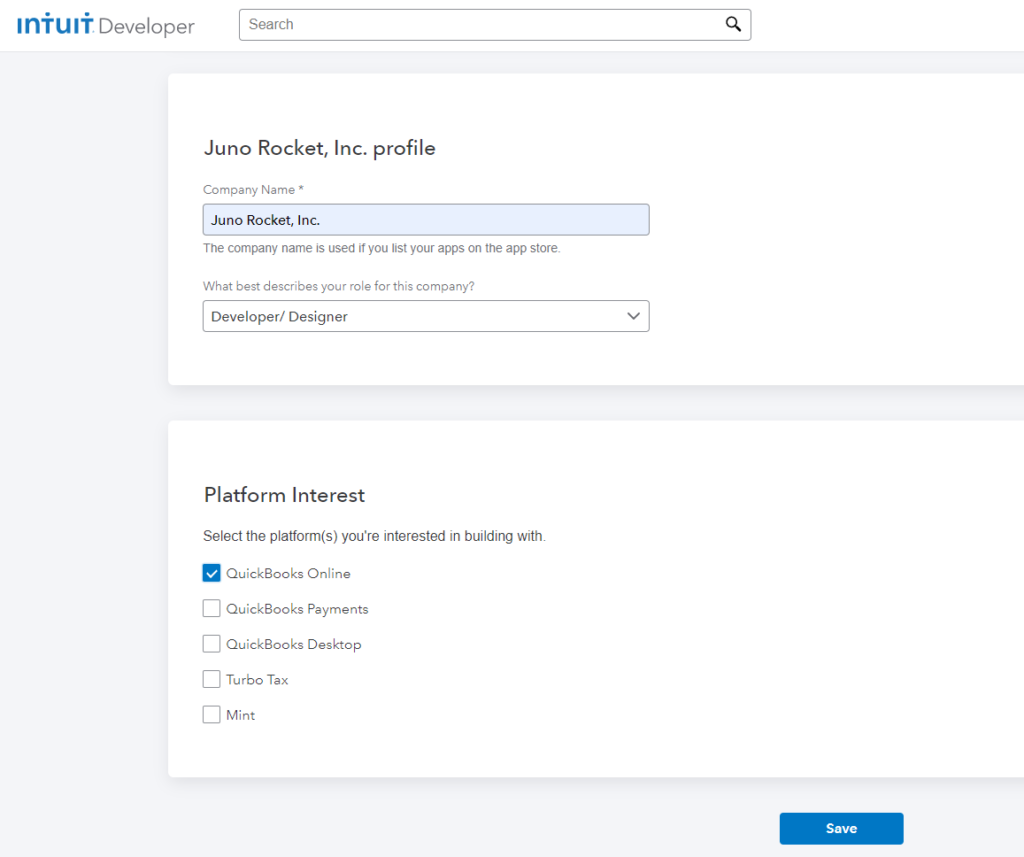
Clicking on the second link above “Complete you account profile” and fill in the blanks with any address. Here is a sample of the completed profile.
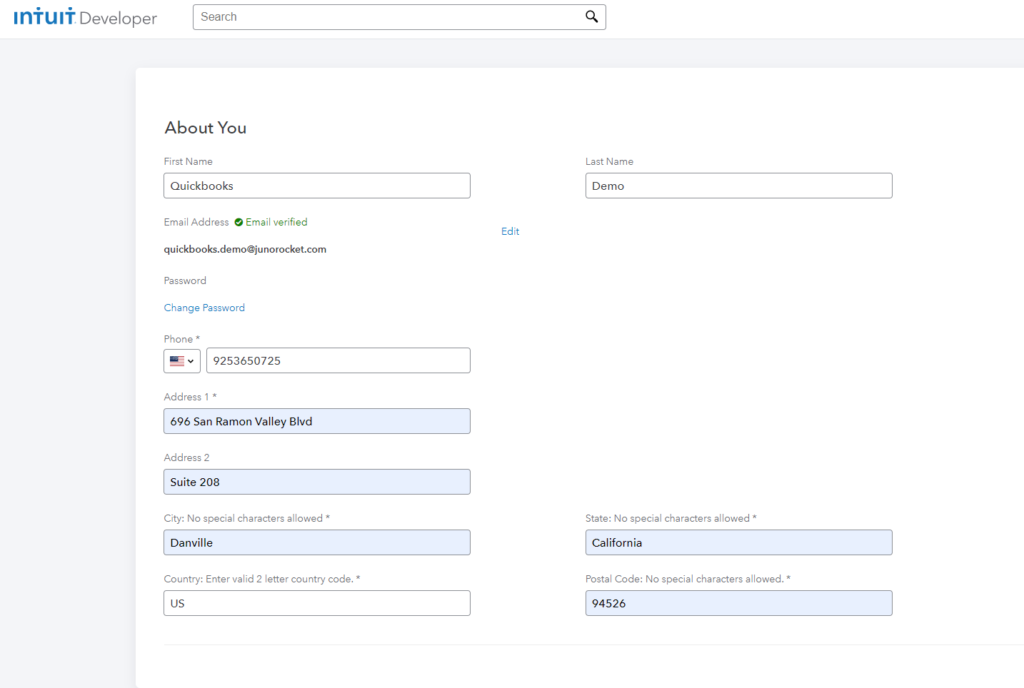
Details continued below
For the “Terms of Service Links” feel free to use our privacy notice to fill in this space. Here is the link we use: https://www.junorocket.com/gdpr-privacy-notice/
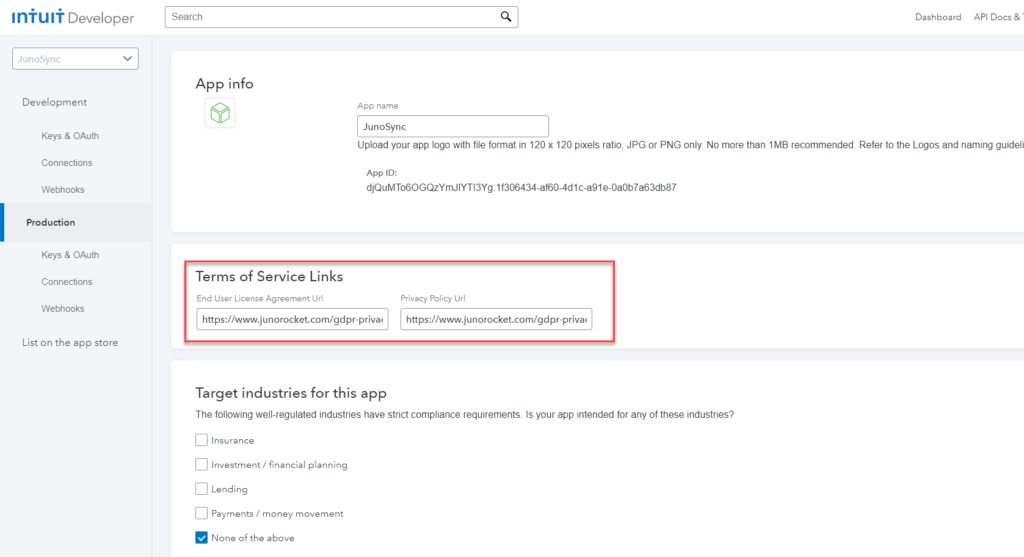
Additional Terms Settings
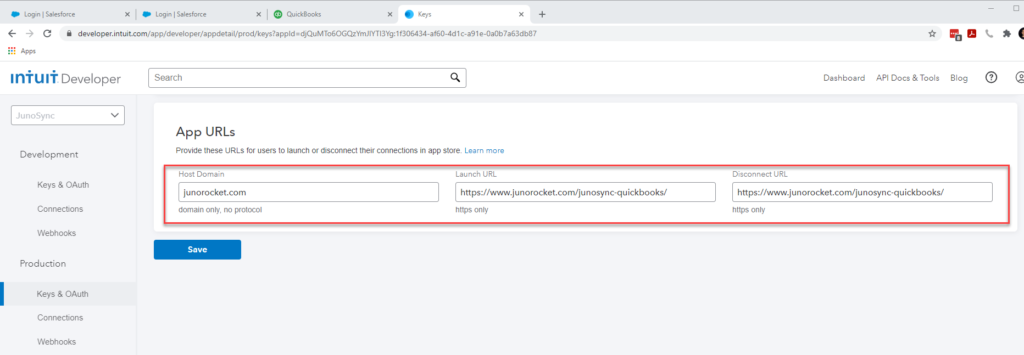
For the “App URLs” feel free to use our website URL in this space. We use the following URL: https://www.junorocket.com/junosync-quickbooks/
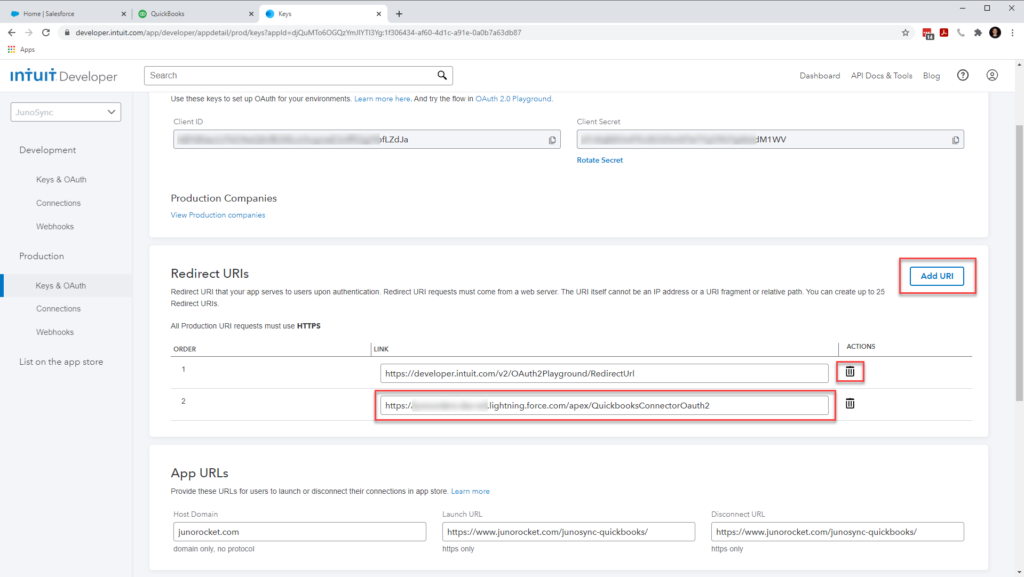
We’re at the final step when our Client ID and Client Secret Keys are generated. Copy and paste these two values into the corresponding spaces in the JunoSync Credentials tab. We will also need to delete the default “Redirect URI” and add a new one as shown. The URL from your Salesforce org should look like:
https://YourCustomURL–junoqb.visualforce.com/apex/QuickbooksConnectorOauth2
To locate your custom domain prefix, in Salesforce, click on the Setup wheel in the upper right corner, then locate “My Domain”.
- Click Setup, then search for Visualforce Pages
- Locate the QuickbooksConnectorOauth2 page
- Click Preview
- Copy the URL, which will be used as the URI in the screen above
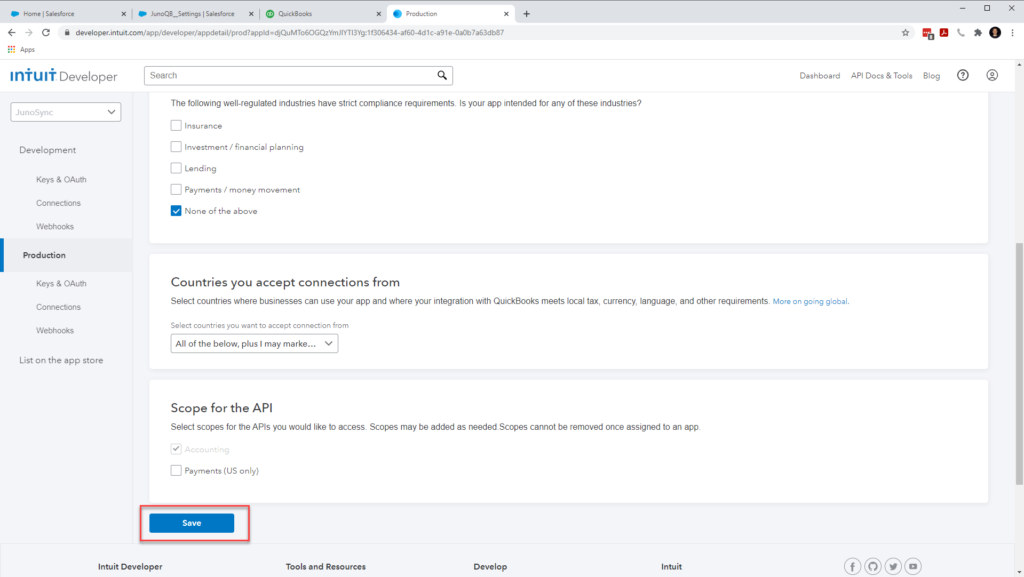
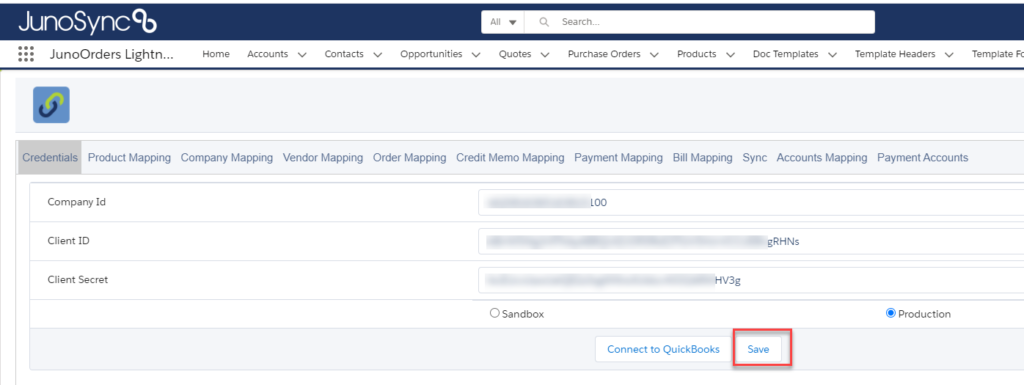
Once you copied and pasted the values into the Credentials tab in Salesforce, make sure you hit the “Save” button before you attempt to Connect to QuickBooks.
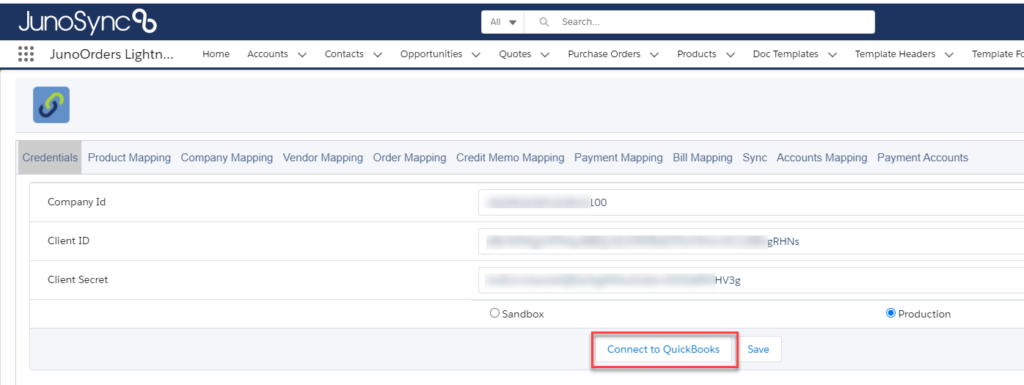
After you save the credentials, you can the proceed to “Connect to QuickBooks” as shown below.
If you have any trouble making this connection, feel free to reach out to us. We’re here to help.